Author items
The process of authoring an item involves writing the item content, indicating the correct responses, applying formatting, and adding images, media, or exhibits. Items are also assigned to a blueprint area, and details such as metadata and references are sometimes required.
Launch video in a new window >>
Start a new item
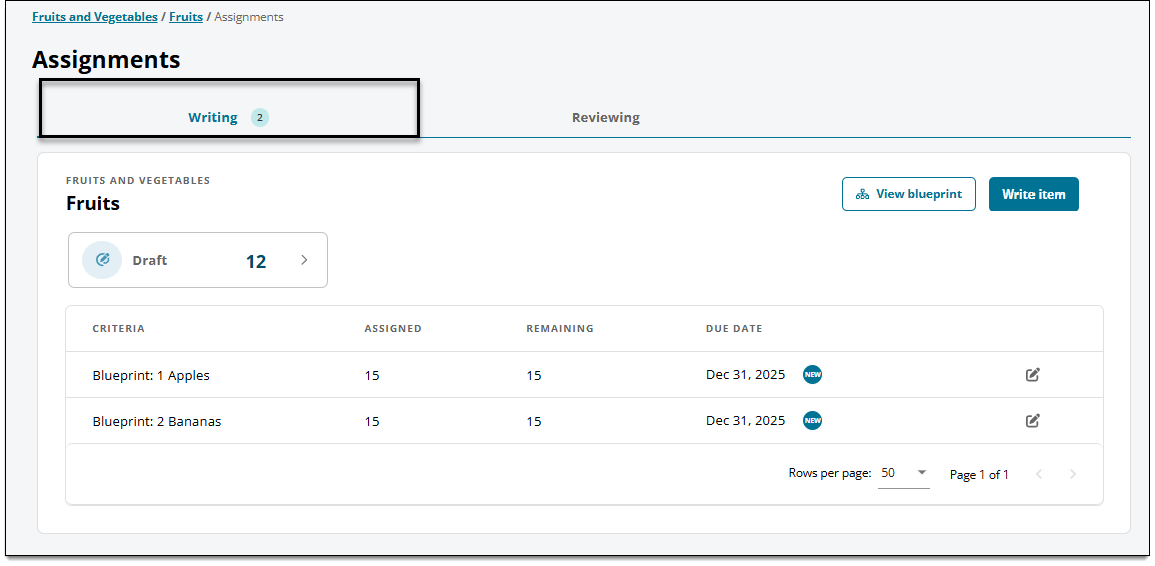
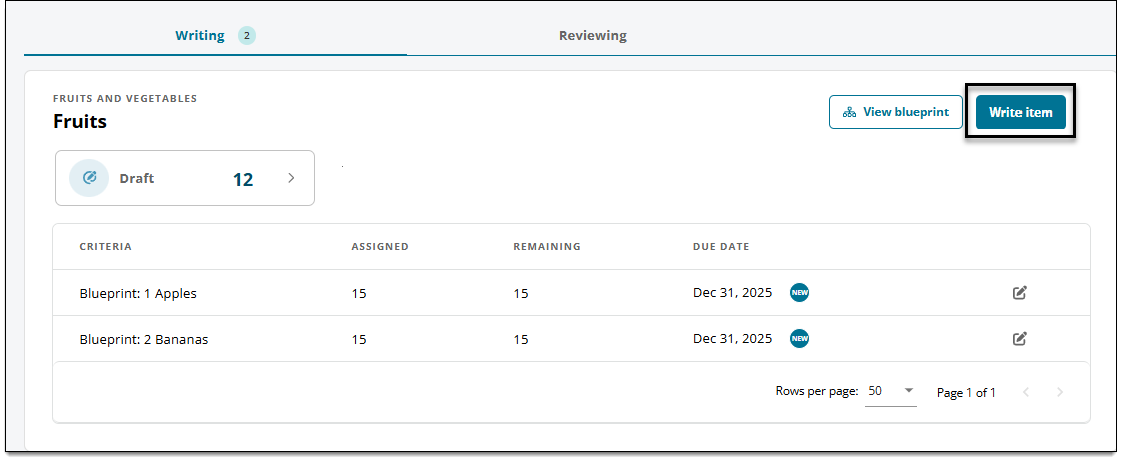
- On the Assignments page, you'll see a list of your assignments for the project with the following columns displayed:
- Criteria: The name of the project's assignment criteria (such as blueprint areas or metadata) that you have been assigned to.
 You can review the project's blueprint (if available) by clicking the View blueprint button.
 - Assigned: The total number of items you have been assigned to write for each criteria.
- Remaining: The number of items assigned to you in each criteria and are not yet submitted. (E.g., if 15 items were assigned and you already submitted two, the Remaining number should be 13.)
- Due Date: The date when all items must be written and submitted by for each criteria.
- Criteria: The name of the project's assignment criteria (such as blueprint areas or metadata) that you have been assigned to.
- Make sure you are on the Writing tab. (If you are also a reviewer, you'll see both a Writing tab and a Reviewing tab.)
- If your project uses Item Assist, you'll see the Item Assist button. Learn more about generating items with Item Assist here.
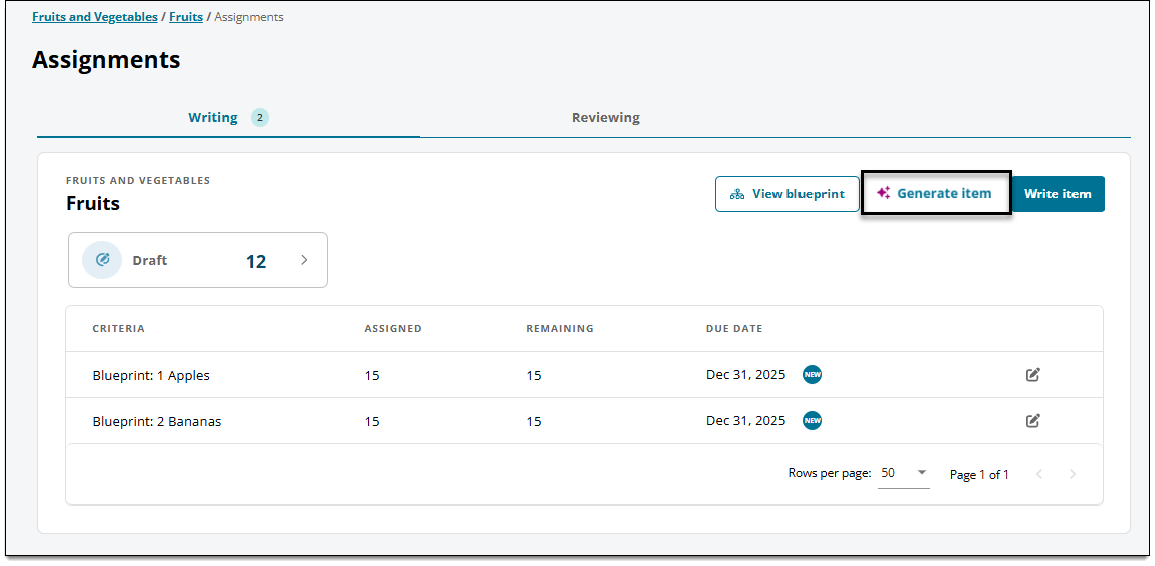
- If your project uses Item Assist, you'll see the Item Assist button. Learn more about generating items with Item Assist here.
- Click one of the following options to start a new item:
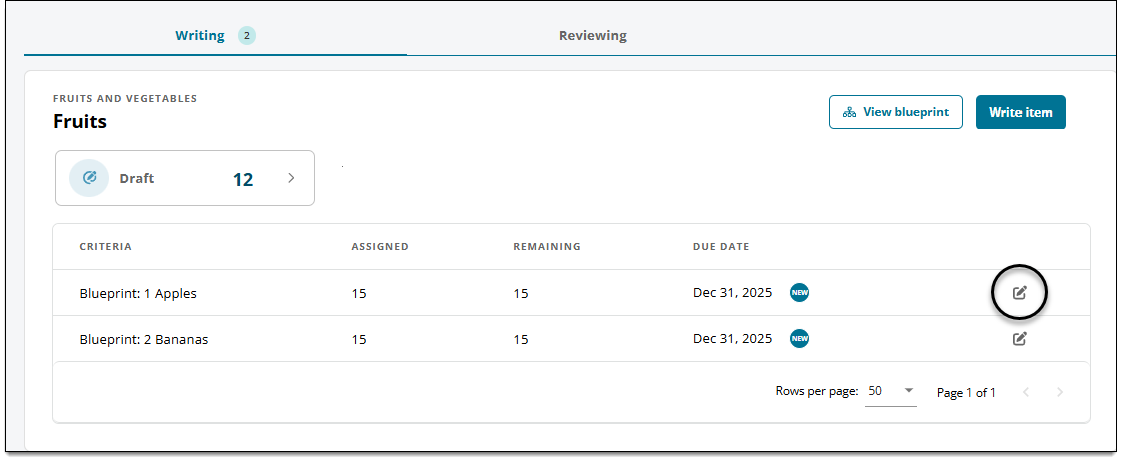
- Click
 for a particular assignment.
- Click Write item to author a new item that is not part of a particular assignment. (Assignment criteria won't automatically be applied. Make sure to apply the required blueprint area and/or metadata to the item before submitting it.)
- Click
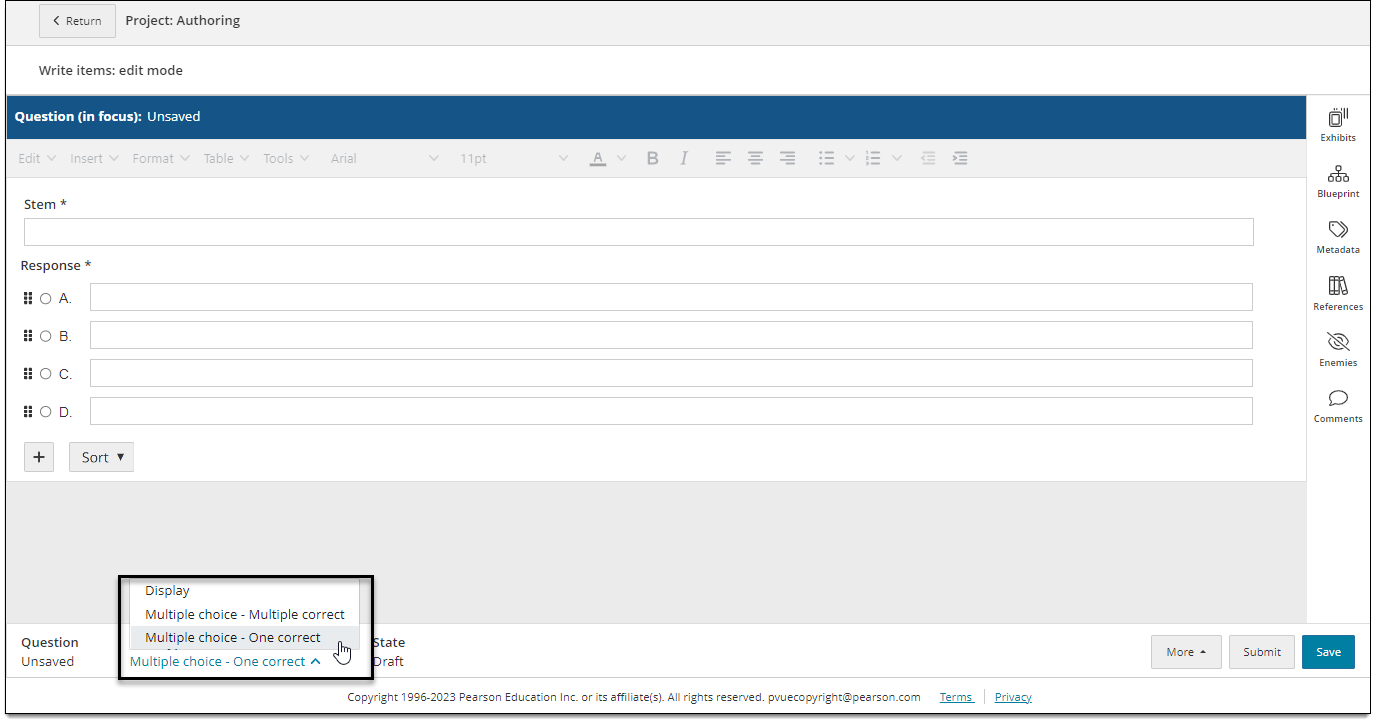
- The item editor opens. The default item type for the project is presented by default.
Choose an item type
- Choose an item type from the drop-down list at the bottom of the page.
|
|
Write the item content
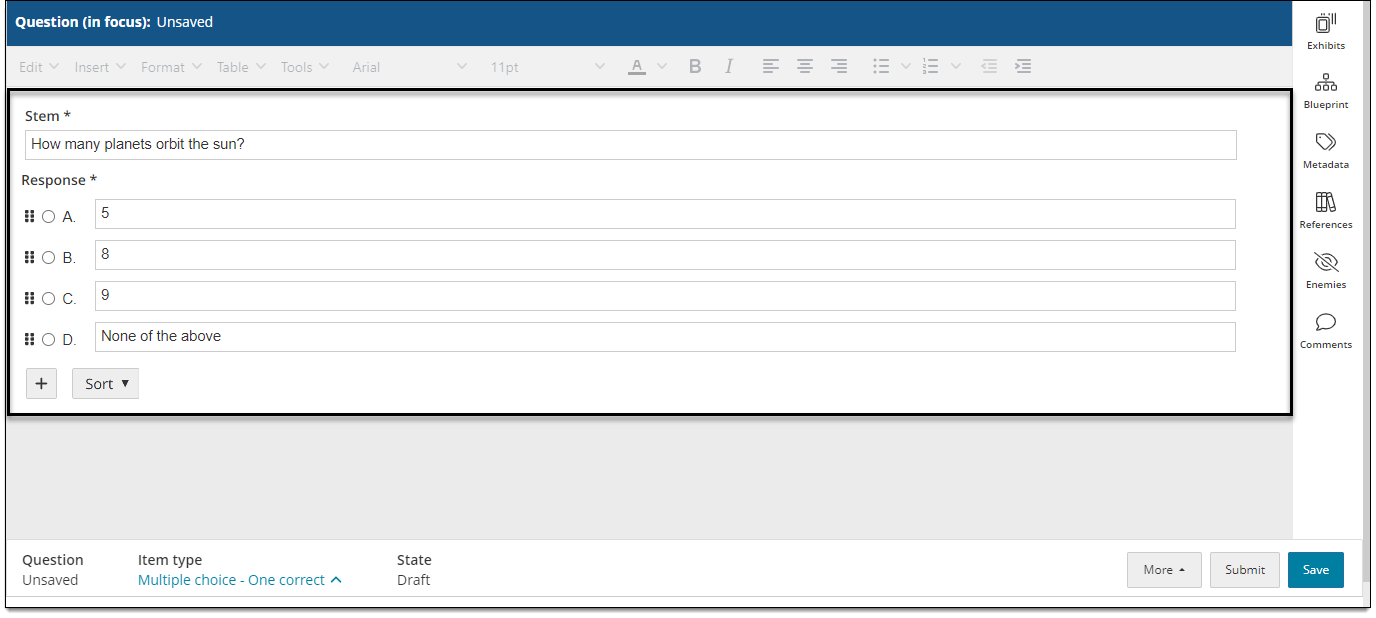
- Write the main content of the item, such as the stem or question. Steps vary depending on the item type.
Additional item content options
Some options may not be available for certain items.
- Format and edit text
- Add pop-up exhibits
- Add split screen exhibits
- Add images, PDFs, or media (Note that other asset types are available in addition to images, PDFs, and media.)
- Add tables
- Add equations
- Add variables
- Add dynamic text
Choose correct responses
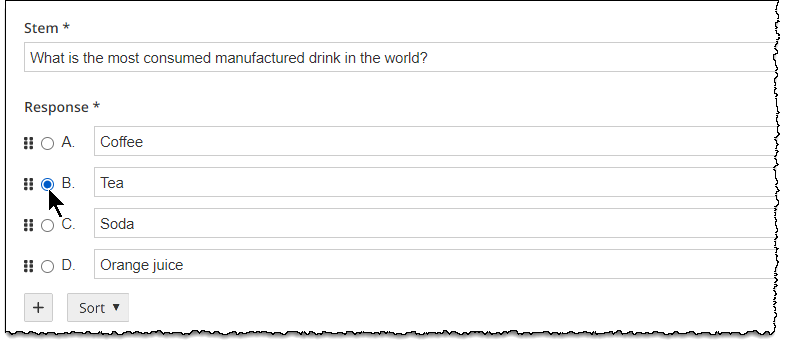
- Select the correct response (or responses) as if you were a candidate answering the item. Steps will vary depending on the item type.
Assign blueprint area
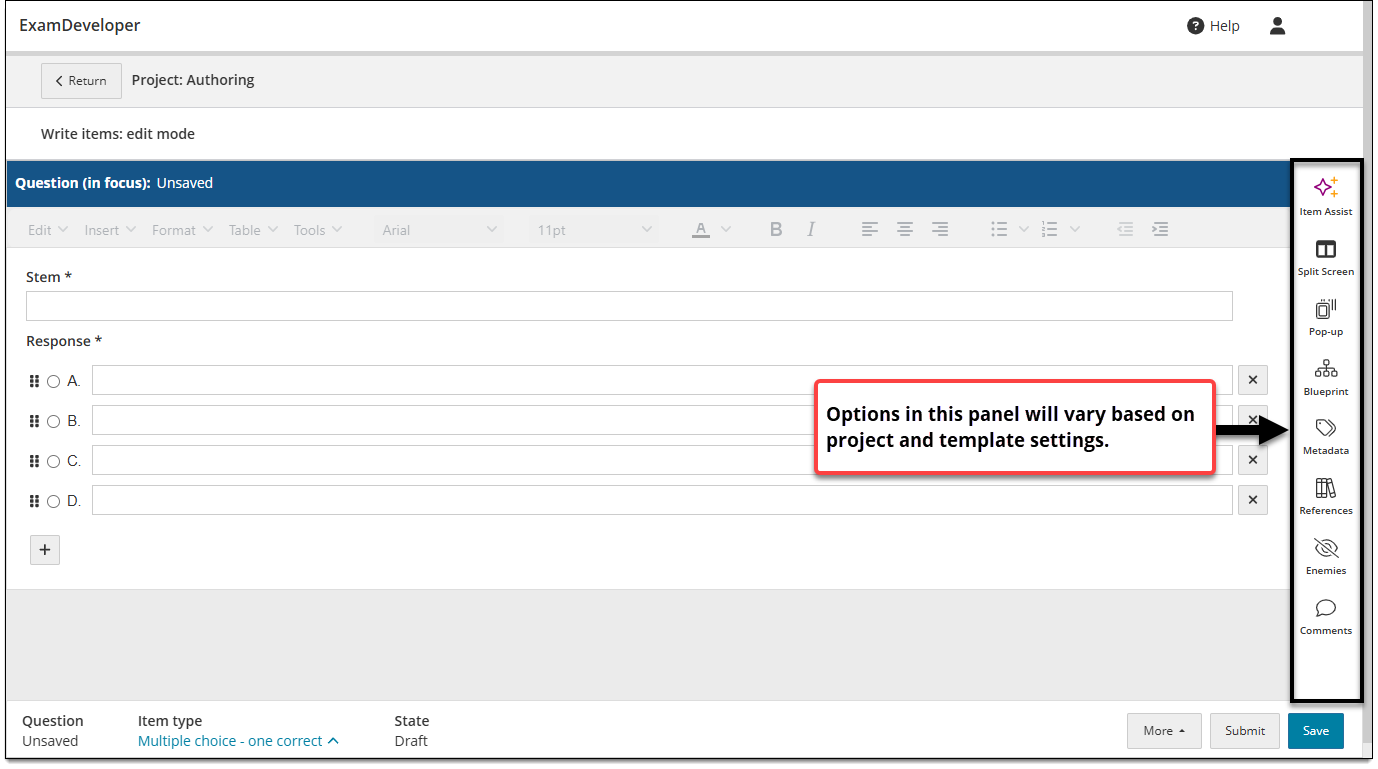
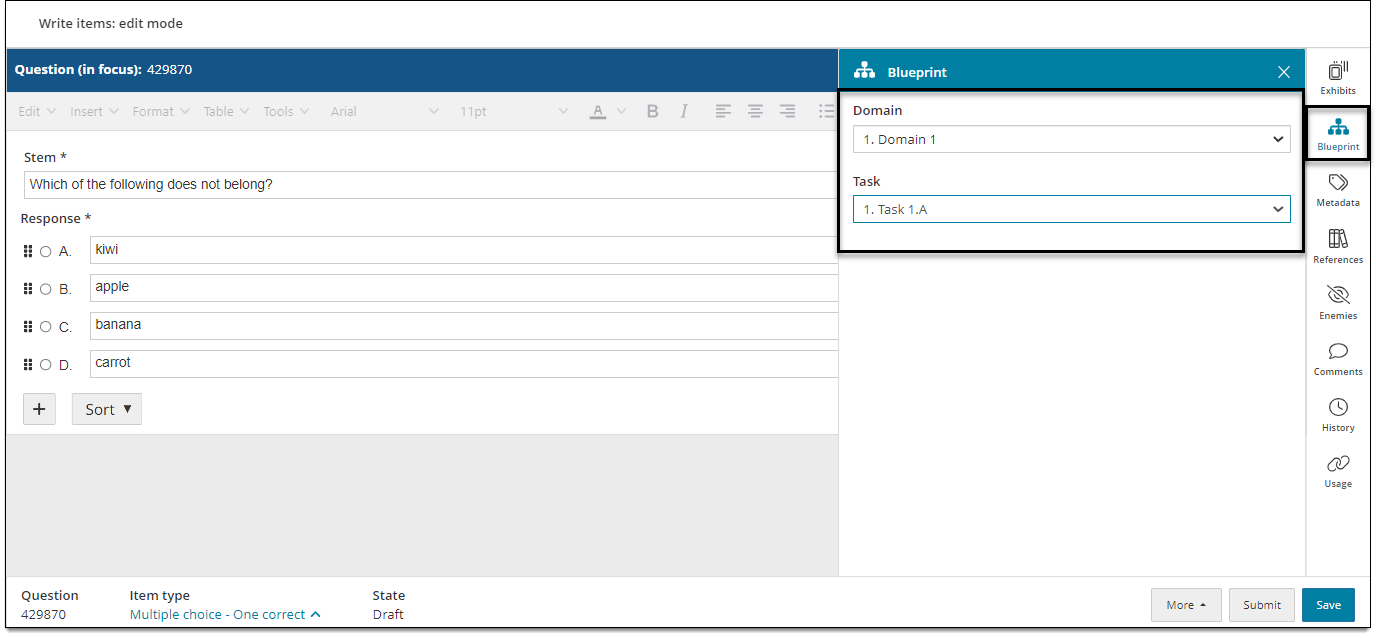
The blueprint is used to classify items when building exams. (Note: The blueprint area may already be assigned to the item, depending on which assignment you opened from your dashboard page.)
- In the item settings panel
 , click Blueprint.
 - Select a Domain, Task, or Sub-Task as appropriate for the item.
- Click Save in the lower-right corner of the page.
Add metadata
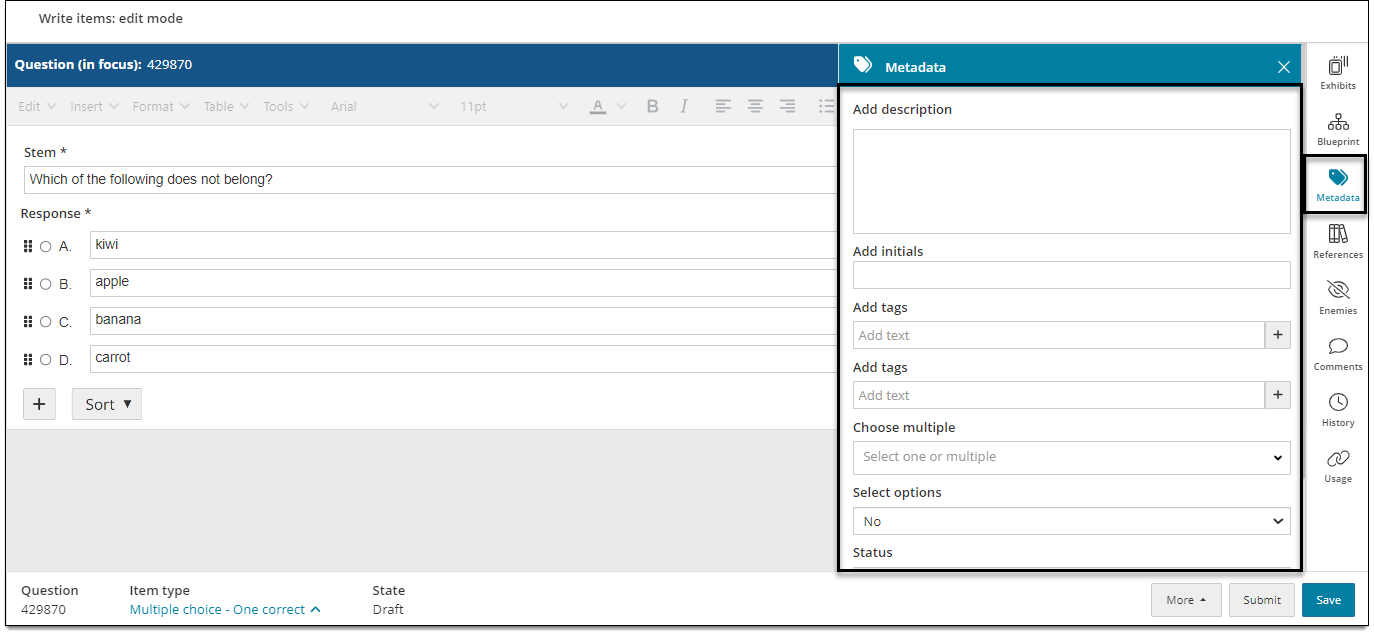
Metadata is used to classify items for reporting and searching purposes. It can also be exported in exam QTI.
- In the item settings panel , click Metadata.
- Enter text or select options based on the available fields.
- Click Save in the lower-right corner of the page.
Add item enemies
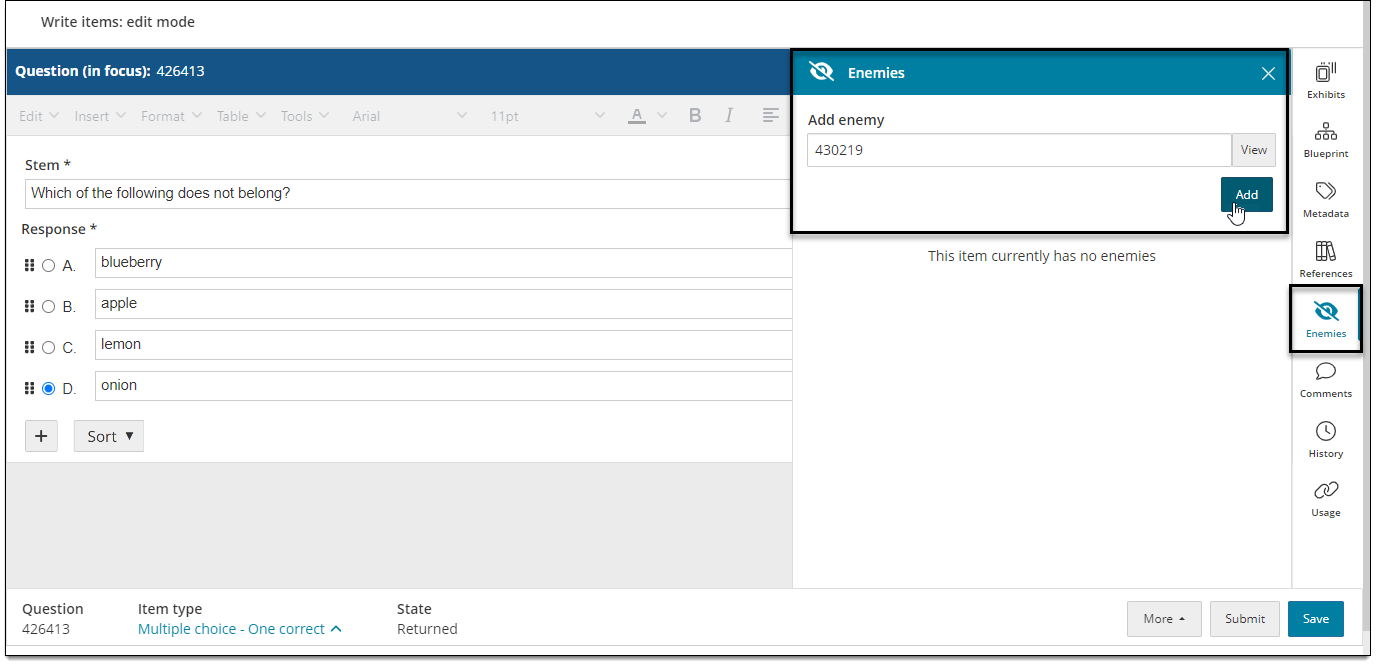
When two or more items are 'enemies', they cannot be included in the same exam form (unless the person building the exam manually overrides the restriction).
- In the item settings panel , click Enemies.
- In the Add enemy text box, enter the Question ID of the item that you want to associate as an enemy. Click View if you want to preview the item first.
- Click Add.
- Click Save in the lower-right corner of the page to save the item.
Add references
Document source materials that you referenced when writing item content.
When you create and save a new reference, that reference is added to the project's reference library and can be applied to other items.
- In the item settings panel , click References.
- Select an option from the Type drop-down menu (e.g., Book).
- Click inside the Reference field and select an existing reference (if available) or Create a new reference.
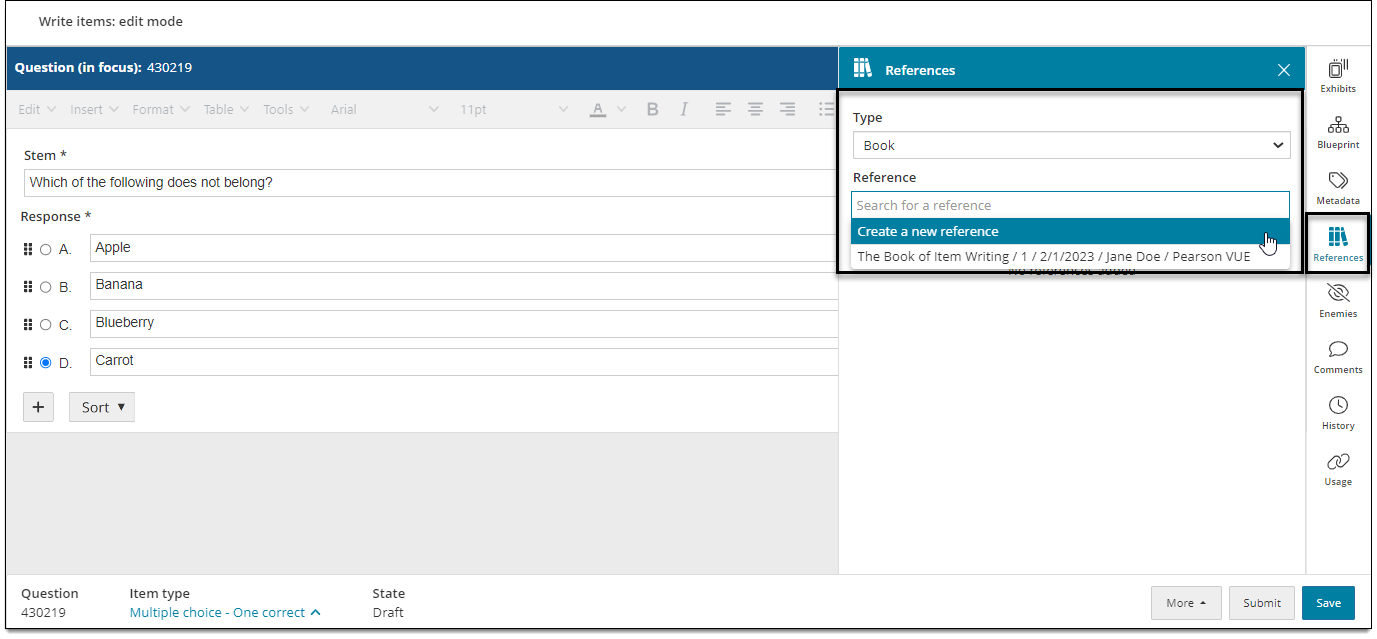
- Enter information for the various fields (described below).
- Click Add in the lower-right corner of the References panel.
Choose delivery settings
|
|
- In the item settings panel , click Delivery settings. (If you don't see this panel, it is likely not enabled for the item type.)
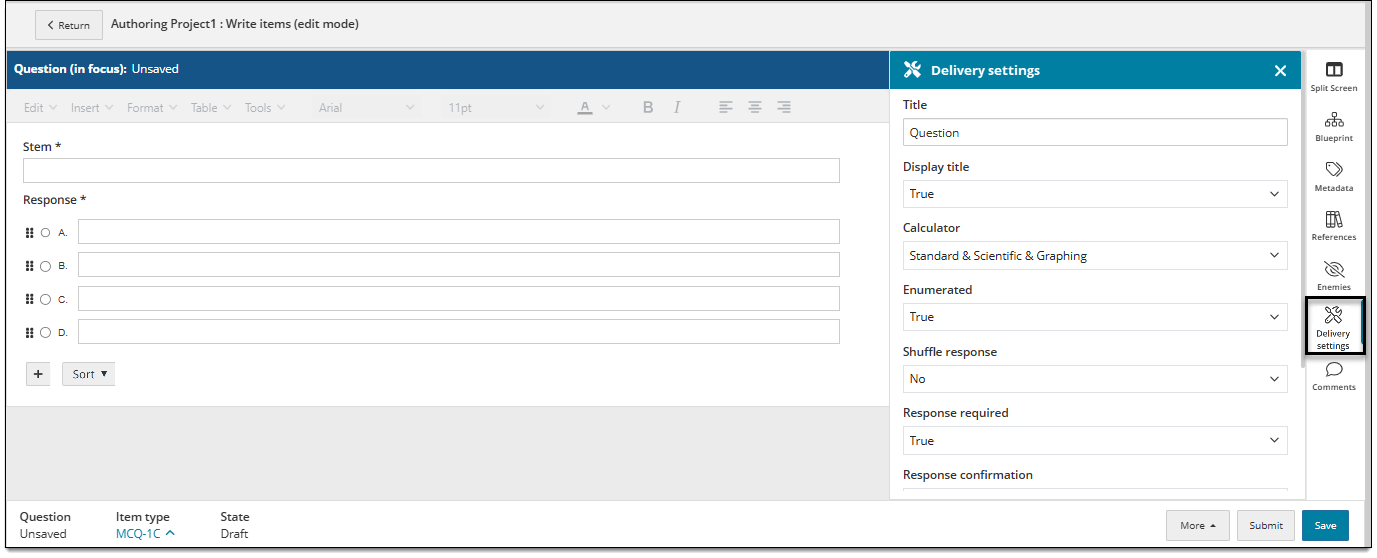
- Select or edit properties as needed (if the field is editable).
- Title: Enter an item title, which displays on the item review screen during exam delivery (only if idents are hidden and Display title (see below) is set to True). (A default title may be already applied; if you change the title it will only affect the current item.)
- Display title: Determines if the item's Title (see above) is displayed on the item review screen during exam delivery. Select True to display the title during exam delivery. Select False to hide the title during exam delivery; it will only be visible in ExamDeveloper. If you select Not set, no QTI values for this setting will be exported.
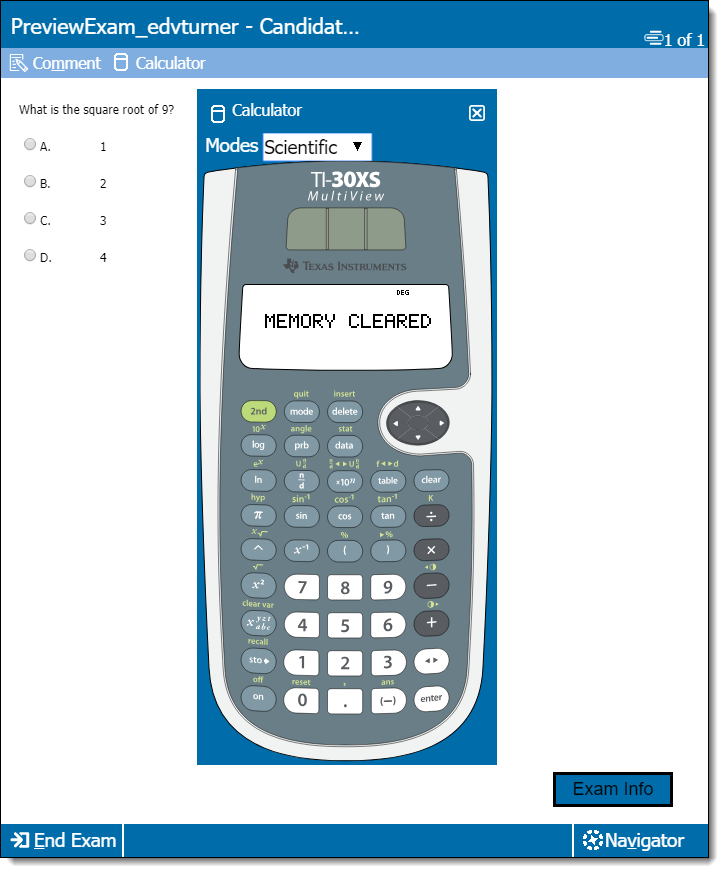
- Calculator: Determines which, if any, calculator types are available with this item during exam delivery. Choose a single type or combination of types including Standard, Scientific, and/or Graphing (see example image below). Availability of calculator types depends on the item type template settings. If you don't want to change the calculator type, choose Not set (the parent section settings will be used if present; if parent values are not present, no QTI settings for the calculator will be exported).
- If you add a calculator to an item, you must add the calculator to the Exam Level or you will receive a QTI Compilation error. See the PearsonvueApplication (Calculator) topic for details on adding calculators to the exam level."
-
- Enumerated: Determines if the item is excluded from the numbering sequence in the review screen. Select True to exclude it, or select False to include it. If you select Not set, no QTI values for this setting will be exported. About enumerationAbout enumeration
By default, all items are numbered in the review screen. When you exclude an item from numbering, the next item in the list uses the subsequent numbering. For example, if the first item is excluded from the numbering; the second item is assigned the value of 1. If the fifth item is also excluded from the numbering, the sixth item is assigned the number 4.
- Shuffle response: Determines if the shuffle response feature is enabled for this item. Select Yes to enable shuffled responses (response options will be displayed in a random order) or select No to disable shuffled responses (response options will always be displayed to candidates in the same order - which is the order specify when authoring the item). If you select Not set, no QTI values for this setting will be exported.
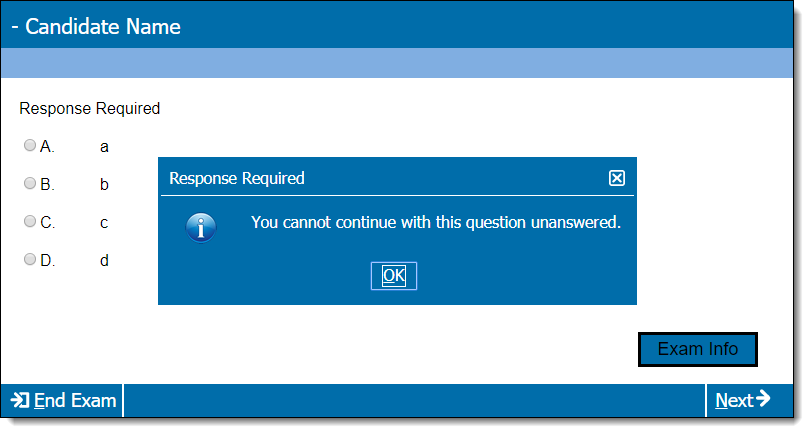
- Response required: Determines if the candidate must enter a complete response for the item before navigating away from it. Select True to require a response (a message is displayed if the response is incomplete or unanswered, and the candidate is unable to proceed) or select False to allow candidates to proceed without answering the item completely. If you select Not set, no QTI values for this setting will be exported.
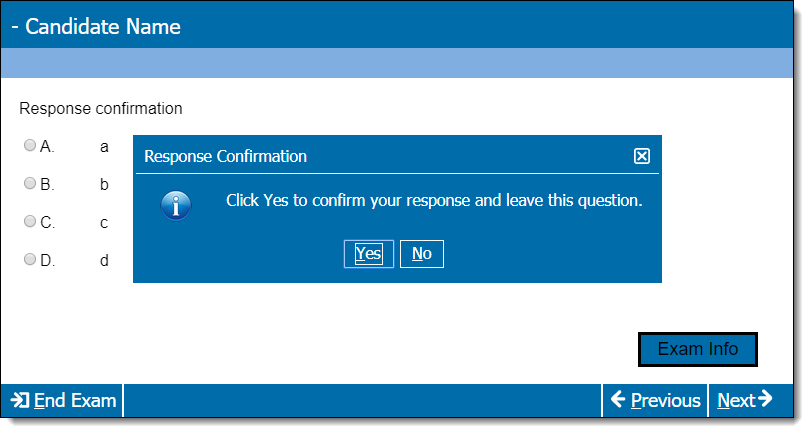
- Response confirmation: Determines if candidates will be prompted to confirm their answer to an item before navigating away from it. This is often used for exams that don't allow candidates to go back to an item once it has been answered. Select True to enforce the confirmation prompt or select False to disable the prompt and allow candidates to proceed without confirming. If you select Not set, no QTI values for this setting will be exported.
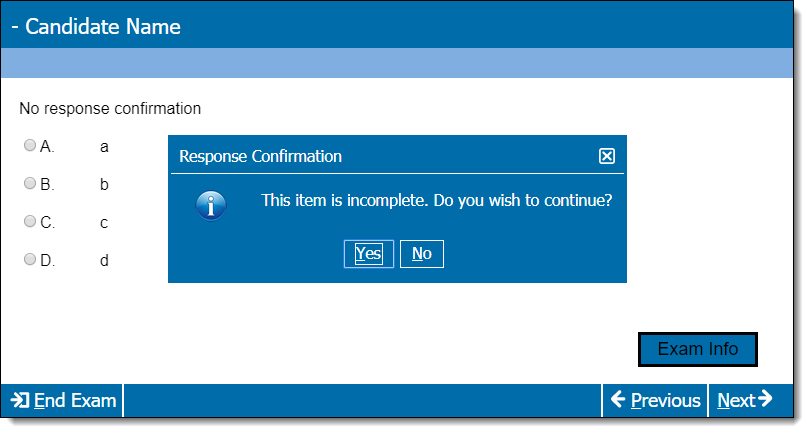
- No response confirmation: Determines if candidates will be prompted to confirm their answer to an item before navigating away from it, only if the response is missing or incomplete. Select True to show the confirmation prompt or select False to disable the prompt and allow candidates to proceed without confirming. If you select Not set, no QTI values for this setting will be exported.
- Click Save in the lower-right corner of the page. This saves all changes made to the item.
Add comments
Comments are used for internal communication between item authors and reviewers (this feature is NOT related to comments that can be entered by candidates during exam delivery).
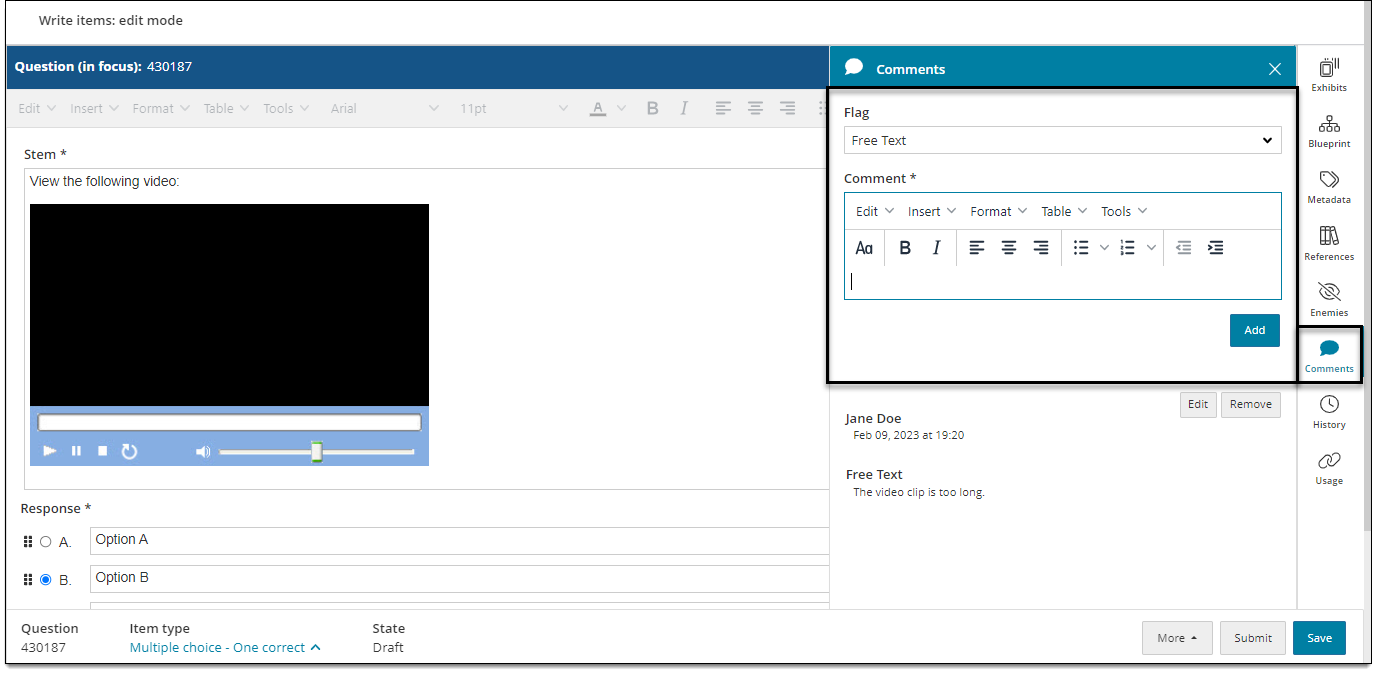
- In the item settings panel , click Comments.
- To enter a new comment, choose a type from the Flag drop-down menu. This flags the comment by subject, issue, or category. Flags are configured by the item bank manager.
- Enter comments in the Comment text field. If desired, you can apply basic formatting to the text or insert assets, tables, and equations.
- Click Add.
You can view older comments left by other authors or reviewers beneath newly added comments.
Save the item
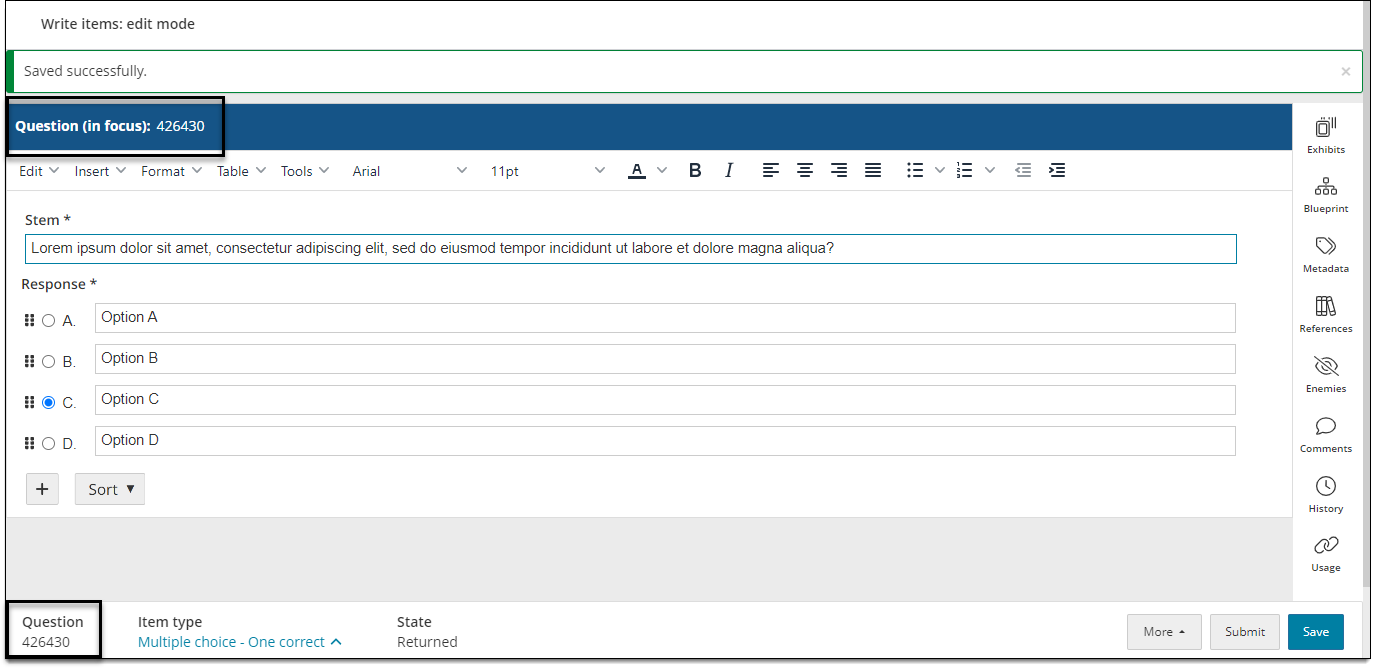
Save the item to work on it later. This places the item in a Draft state.
- Click Save in the lower-right corner of the page.
- A confirmation is displayed when the item is successfully saved.
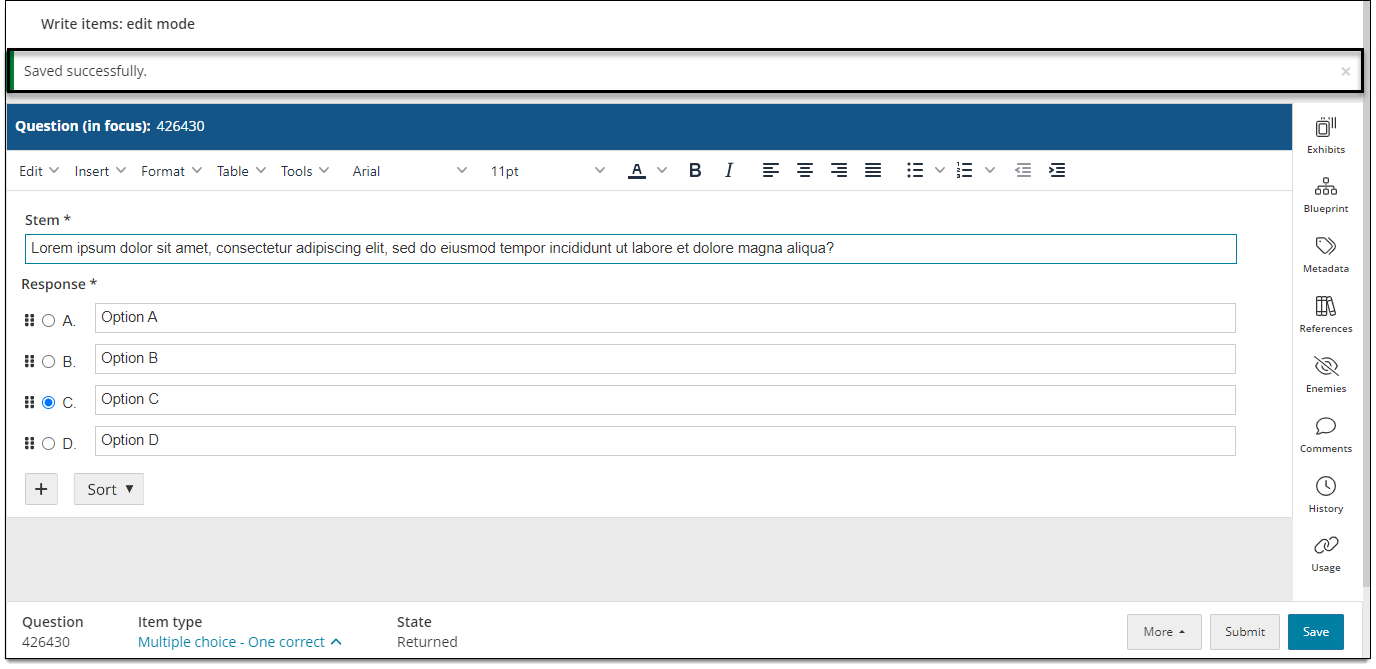
The first time you save the item, the item ID is generated and displayed in the lower-left corner and in the item header. You may want to take note of the item ID in a separate location.
Preview the item
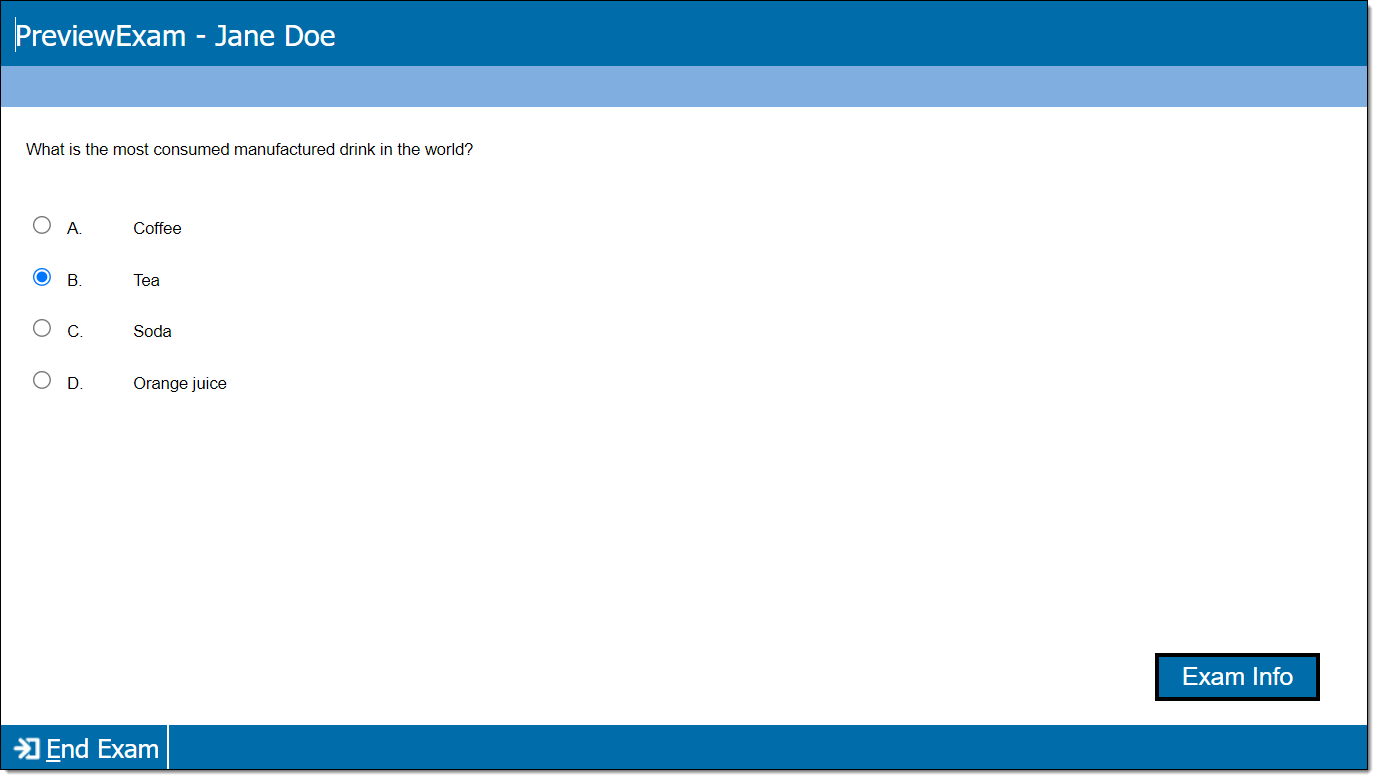
Preview the item using a sample browser-based test driver (Exam Preview). This shows how the item will appear to candidates during exam delivery.
|
|
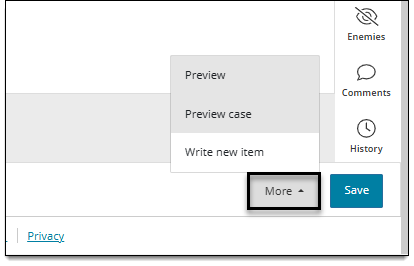
- In the lower-right corner of the page, click Save . (You must save the item before previewing it.)
- Click More > Preview.
The item preview will launch in a new tab or window in your browser.
Submit the item for review
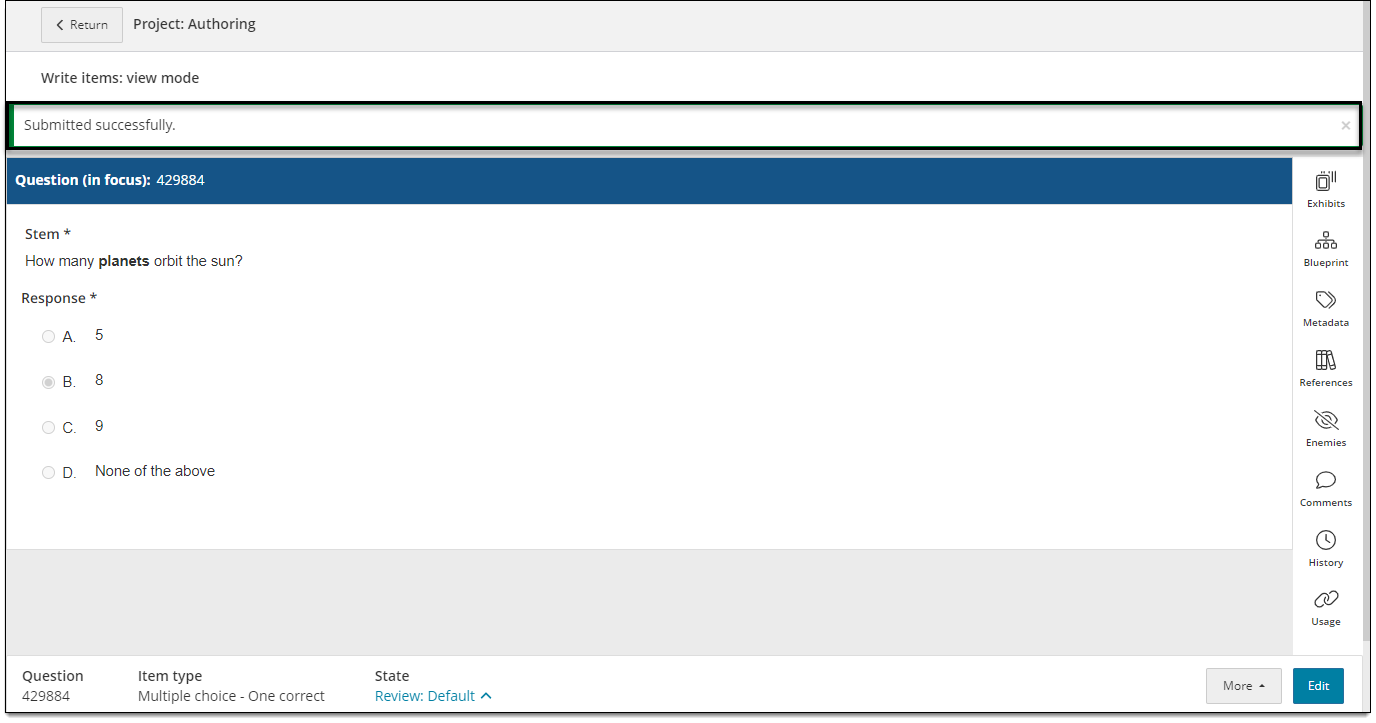
Submitting an item sends it to the next assigned reviewer or stage in your project workflow. You will no longer be able to edit this item unless it is sent back to you.
- Click Submit in the lower-right corner of the page.
- A confirmation is displayed when the item is successfully submitted.
Track submitted items
If the project manager allows it, you can track the status of submitted items on your dashboard by clicking the Submitted tab. Review states will vary by organization, but will typically be categorized as 'still in review' or 'completed' (approved and advanced to next review stage).
- Review states: the item is still being reviewed. Note this tab does NOT show items that were returned by the reviewer; returned items will appear in the Returned queue on your dashboard page.
- Completed states: the reviewer approved the item. This means you can no longer edit it.
Note:  is shown next to any submitted items that were generated or refined using Item Assist.
Write another item
You can start authoring a new item for the same project without returning to your dashboard.
- In the lower-right corner of the page, click More > Cancel.
- This places the item in 'view' mode and changes the options in the More menu.
- Click More and select Write new item.
- A new item is opened for editing. (The default item type is initially selected.)
Work on a different assignment
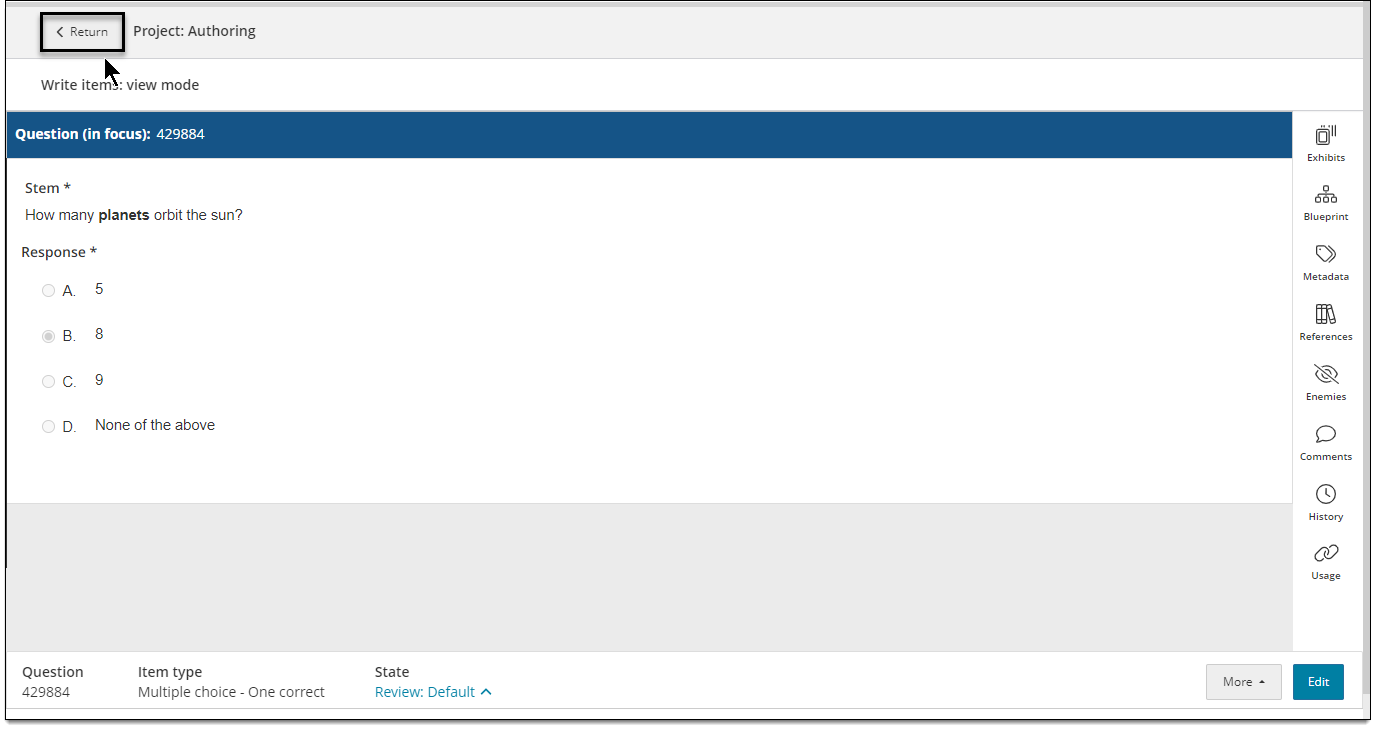
Click the Return button in the top left corner. This takes you back to your Assignments page.