Add or remove media
Audio and video can be added to item content if the item bank manager has added media files to the item bank and enabled media for the item type.
 You can upload new media files when editing the item. Uploaded media will also be added to the project's asset library and can be added to other items in the project.
- You can also attach media to comments or metadata types that allow text entry.
- You can preview or download media that is attached to an item.
Add media
|
|
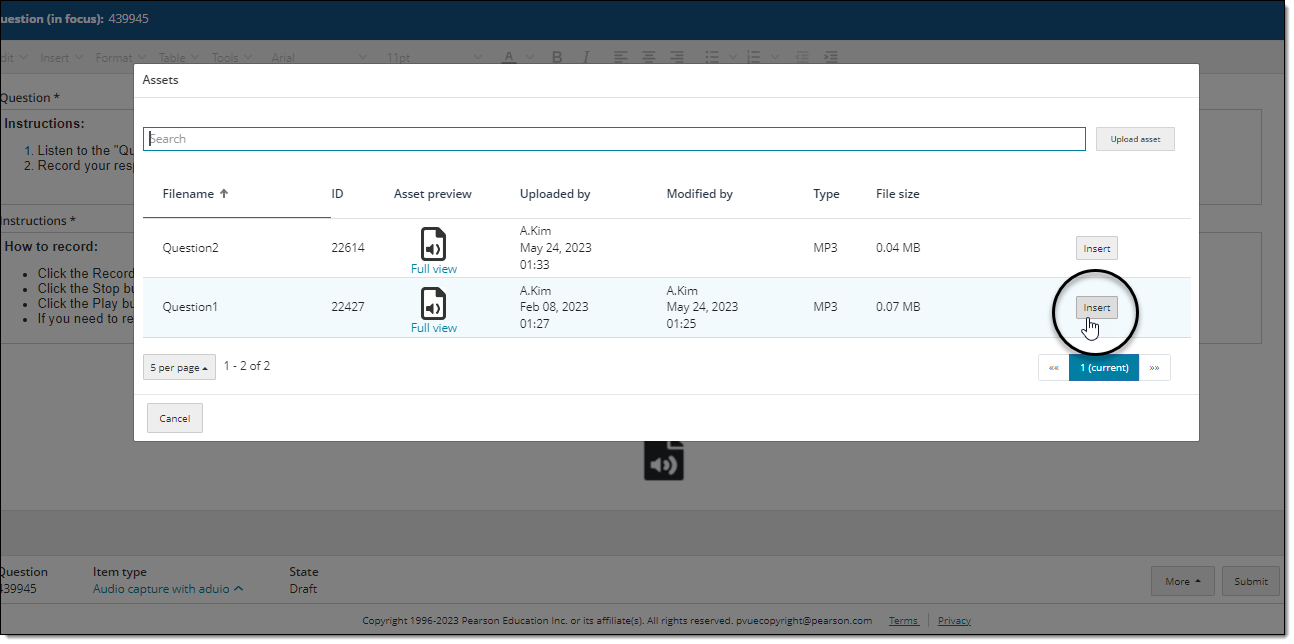
- Click the Browse button in the Media* section. *The label for this section may differ for each organization.
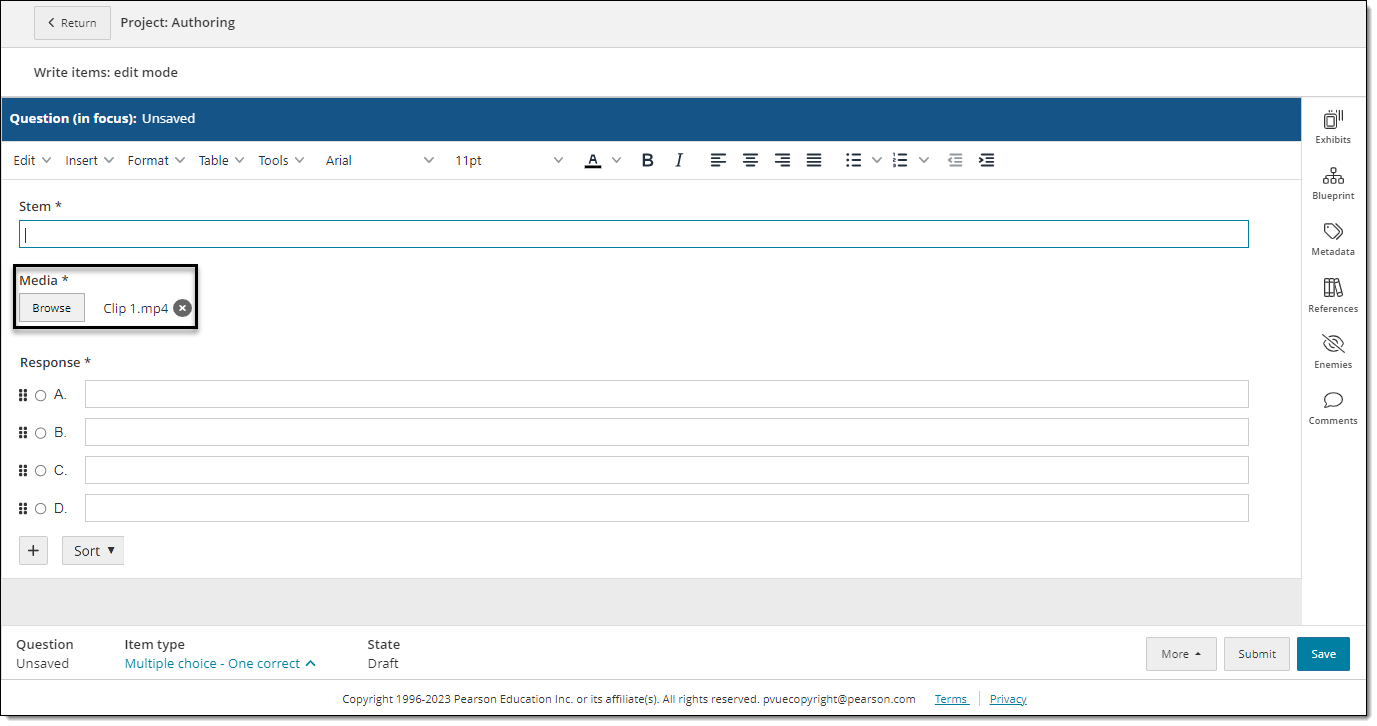
- In the Assets pop-up, you can choose a media file from the list or upload a new file.
Choose a media file from the Assets list
- In the Assets pop-up, find the media file in the list or type the file name in the Search box. See Media properties below for a description of each column in the file list.
- Click Insert for the media file that you want to add. You can only add one media file at a time.
- The media is added to the item. Click Save in the lower-right corner of the page.
- The project manager can configure media assets to be displayed as an exhibit, in which case the media file will be added as an exhibit instead of a media asset.
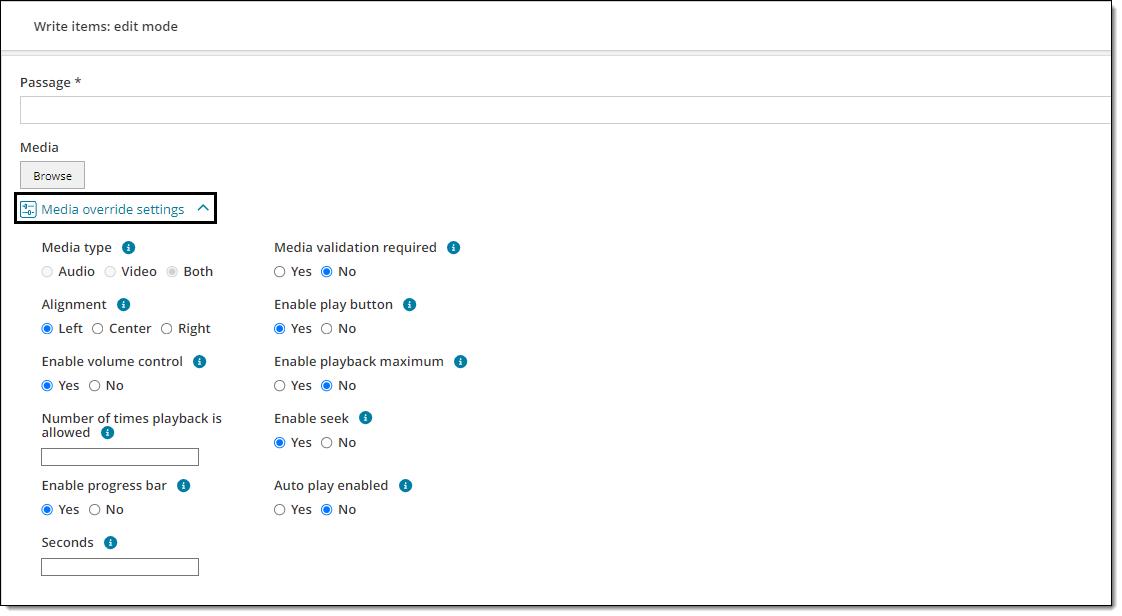
- Note to item bank managers: You can override the current media settings by clicking the Media override settings drop down. Learn moreLearn more
Click the Media override settings drop-down menu below the Browse button. You can override any settings or validations that are currently in place for the item type, as configured in the ExamDeveloper Management application. Your changes only apply to the current item (question).
Upload a new media file
- Click Upload asset in the upper-right corner of the Assets pop-up.
- Choose a media file stored on your computer. The file is added to the Assets list.
- Select the checkbox next to the asset name and click Insert. Or select additional assets if needed and click Insert selected.
- The media is added to the item.
- The media is also added to the project's asset library and can be added to other items in the project.
- Click Save in the lower-right corner of the page.
Media properties
The following data is provided for each media file:
- File name: the name of the file when it was uploaded to the item bank, not including the file type extension (e.g., "Video Clip 1" not "Video Clip 1.mp4").
- ID: the asset ID which allows project managers and authors to search for the asset.
- Asset preview: Audio and video files are shown as icons. Click Full view beneath the icon to view the full asset in a separate browser tab.
- Uploaded by: the name of the person who uploaded the asset to the project item bank.
- Modified by: the name of the person who modified the asset in the item bank settings, usually a project manager or item bank manager.
- Type: the media file type, such as MP3 or MP4.
- File size: the size of the asset in MB (megabytes).
Preview media
These steps describe how to preview the media file only. You can also preview the entire item with media ↓.
- Right-click the media file name and select Full view.
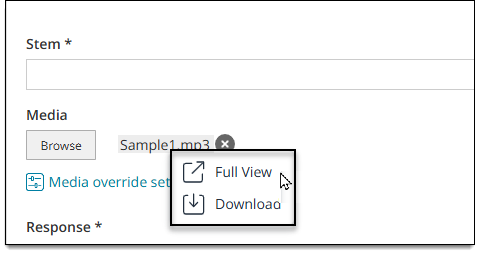
- The full media file opens in a new browser tab or window in your browser.
Download media
- Right-click the media file name and select Download.
- The media file is sent to your Downloads folder.
Remove or replace media
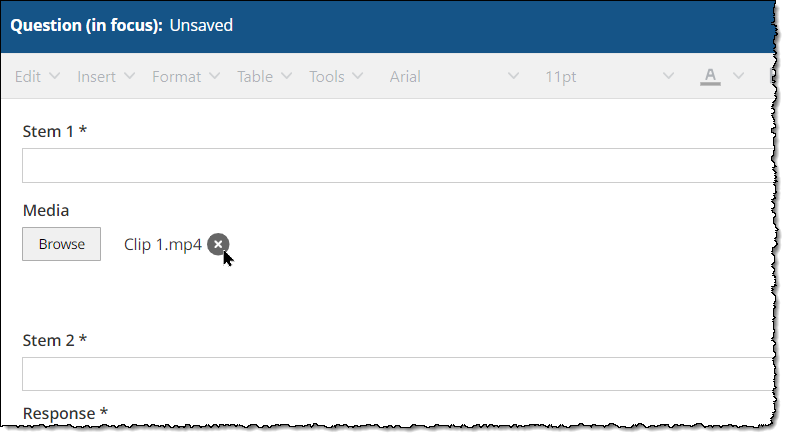
Remove media
- Click the X button next to the current media file name. If media validation is set for the item, you won't be able to submit the item until another media file has been added.
Replace media
- Click the Browse button next to the current media file and choose a new file.
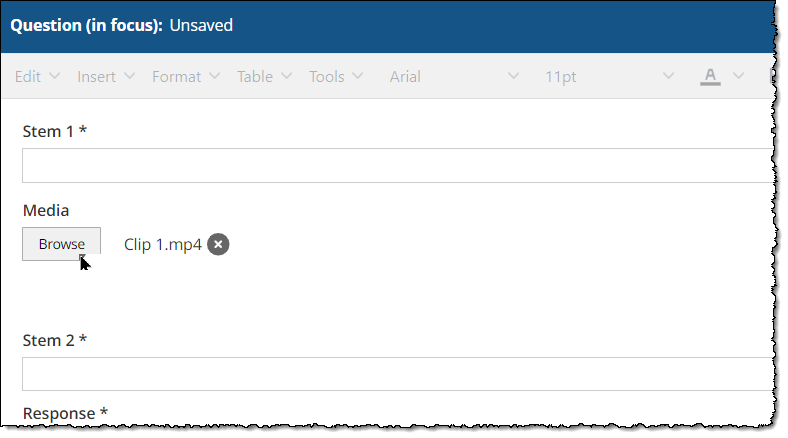
- The media file is replaced and the name of the new file is now shown next to the Browse button.
Preview the item with media
|
|
- In the bottom-right corner of the page, click Save
 . (You must save the item before previewing it.)
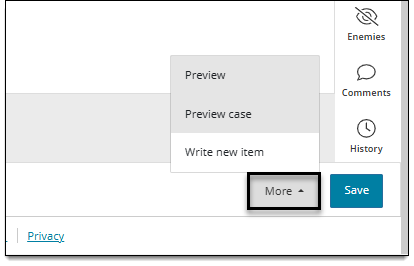
 - Then click More > Preview.