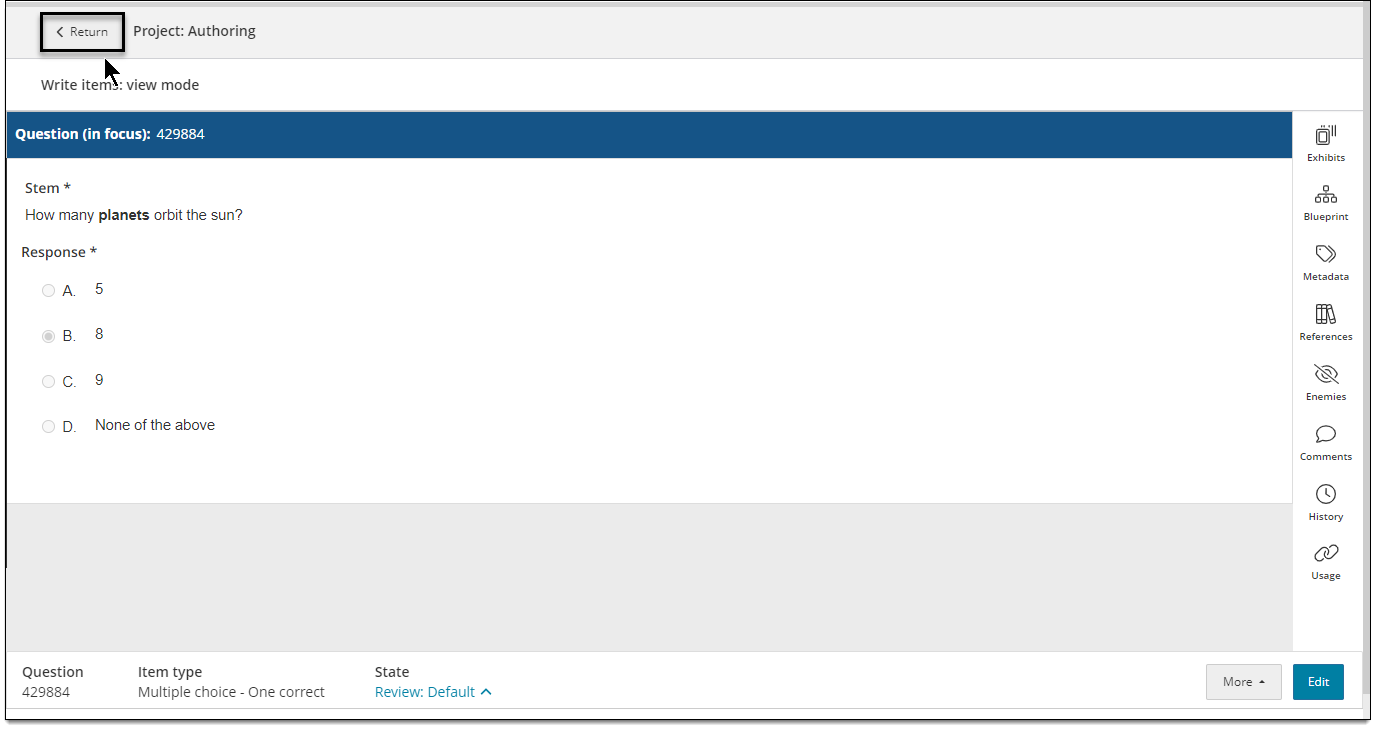
Edit items
Edit items in a draft state (items not yet submitted for review) or a returned state (returned by a reviewer for further editing).
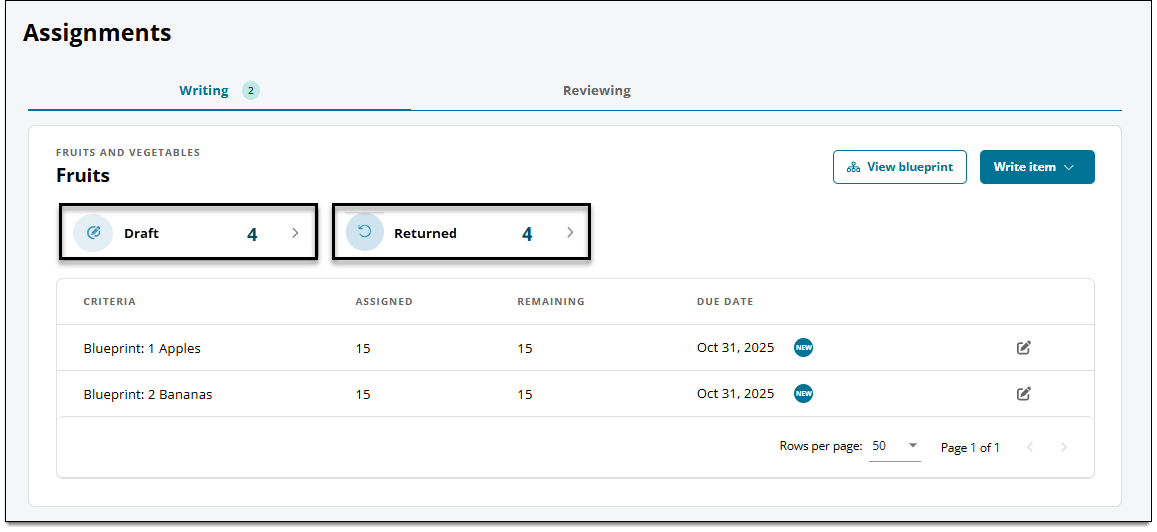
Open an item for editing
- On the Assignments page, click the Draft or Returned tab.
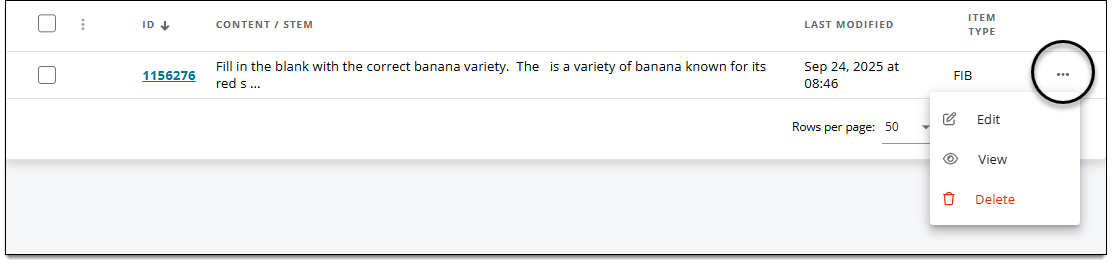
- The following details are shown for each item:
- ID: The auto-assigned item ID number.
- Content/Stem: If available, a preview of the item content is shown here.
- Last modified: The date the last time the item was modified by any user.
- Item type: The item type template applied to the item, such as "Multiple Choice One Correct".
- Find the item in the list, then click the ellipsis button
 and select Edit.
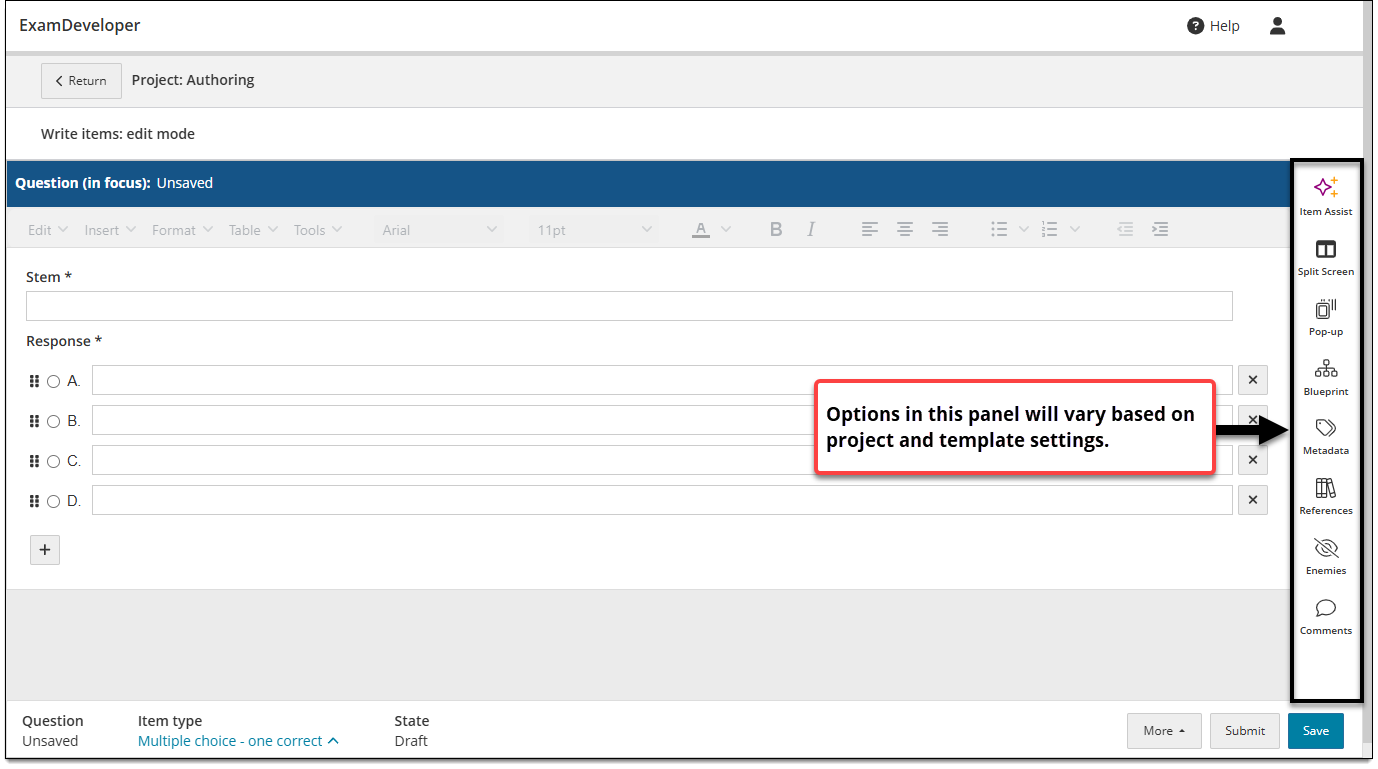
- The item is opened for edit.
- If the item was returned, click Comments in the item settings panel
 to view any comments or instructions left by reviewers. You can also add your own comments.
Edit item content or properties
- Click Edit in the lower-right corner of the page.
- If you are editing a returned item, click Comments in the right panel to view any additional comments or instructions left by reviewers. You can also add your own comments.
- Make all desired changes to the item, such as:
- Modify the question stem and response options (see Author a new item for more information)
- Change the item type template.
 You may lose content depending on the change you are making. Make sure to save content as needed before switching item types.
 - Add item enemies
- Assign the item to a blueprint area (or change the item's blueprint area)
- Add or edit metadata
- Add or edit images, media, or PDFs
- Add and format tables
- Insert equations
- Although the item history can be viewed by other authors and reviewers, you may still want to add a comment to note the changes that you made.
Edit exhibits
If the item has an exhibit, you can make changes to it if needed.
|
|
 If you make changes to the exhibit, those changes will apply to all items that contain the exhibit. If you only want changes to apply to a specific item, you must create a new and separate exhibit for that item.
 - Click the Set as focus button in the exhibit header. Then make the desired changes to the exhibit.
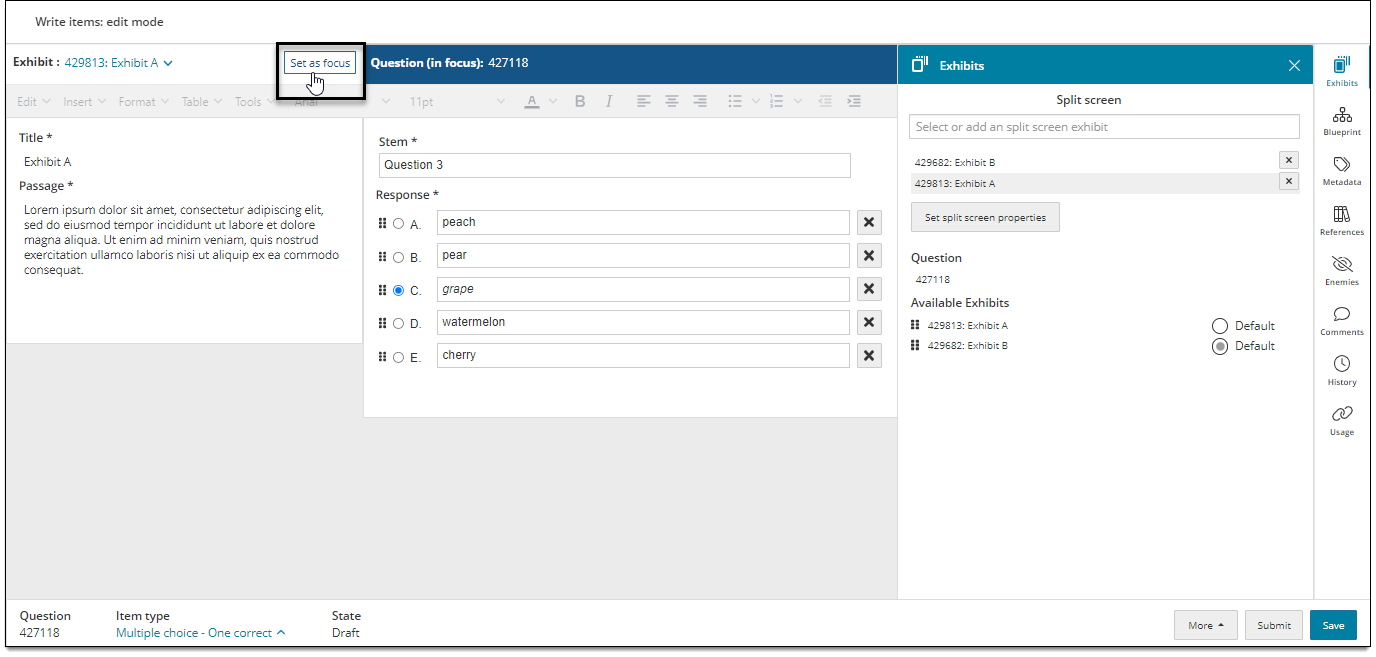
- Remember to set the item back in focus if you need to continue editing the item content or properties. (Click the Set as focus button in the item header ).
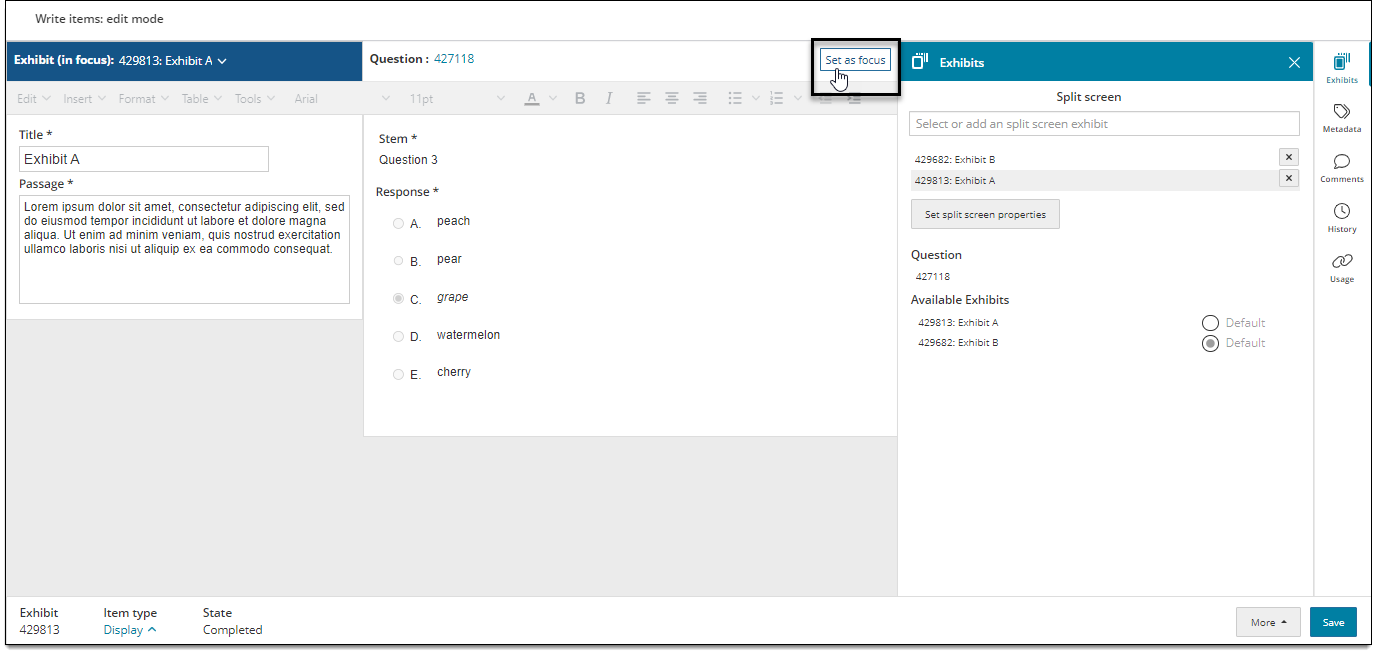
Exhibits that are still in a Draft state can also be edited separately from a question item. Click the exhibit item ID from your Draft/Returned questions list. (If you created an exhibit when writing an item, and saved the item as a draft, the exhibit is saved as a separate item until the exhibit has been advanced by a reviewer.)
View item history (previous revisions)
View a list of each revision showing who edited or reviewed the item and the date/time the action took place.
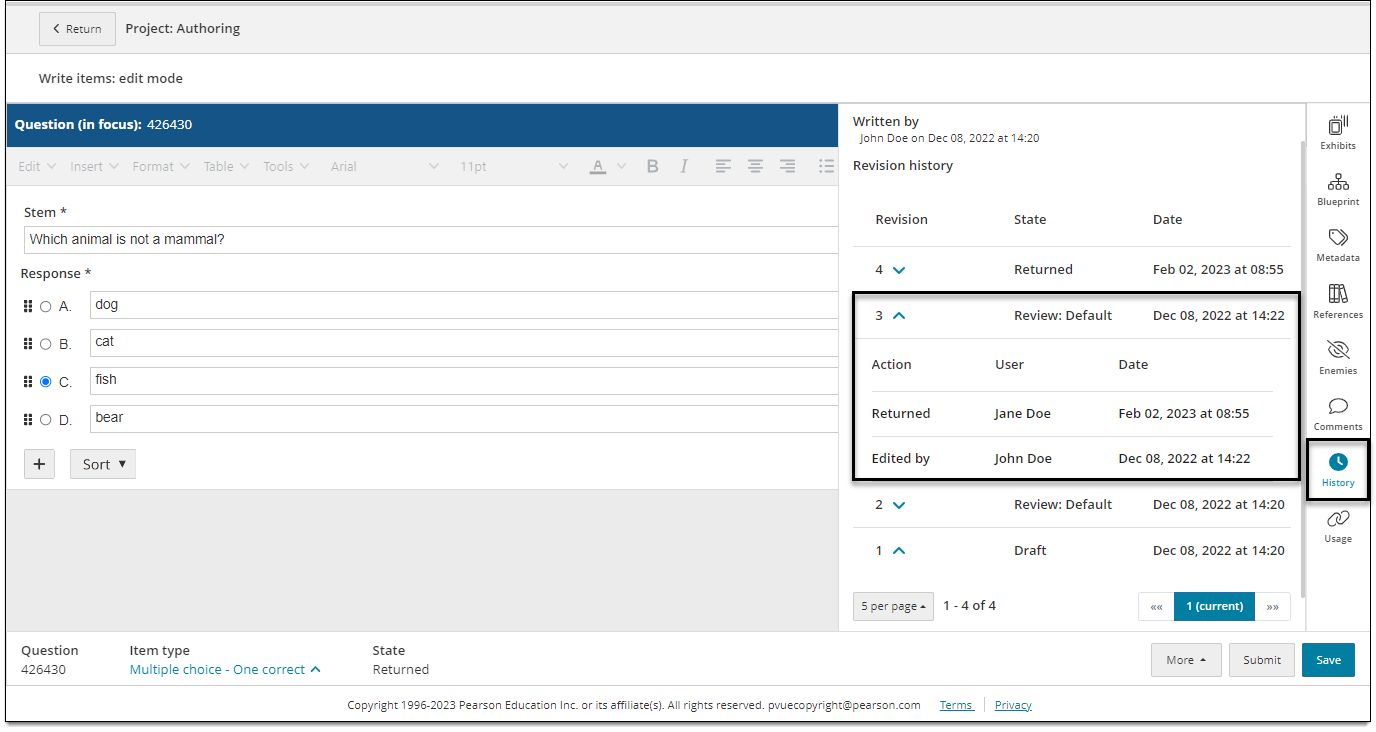
- In the item settings panel , click History.
- Click the Revision number to view the details.
- A new revision number is created each time you save or submit an item.
- Revisions generated using Item Assist will be marked with a sparkle icon
 .
.
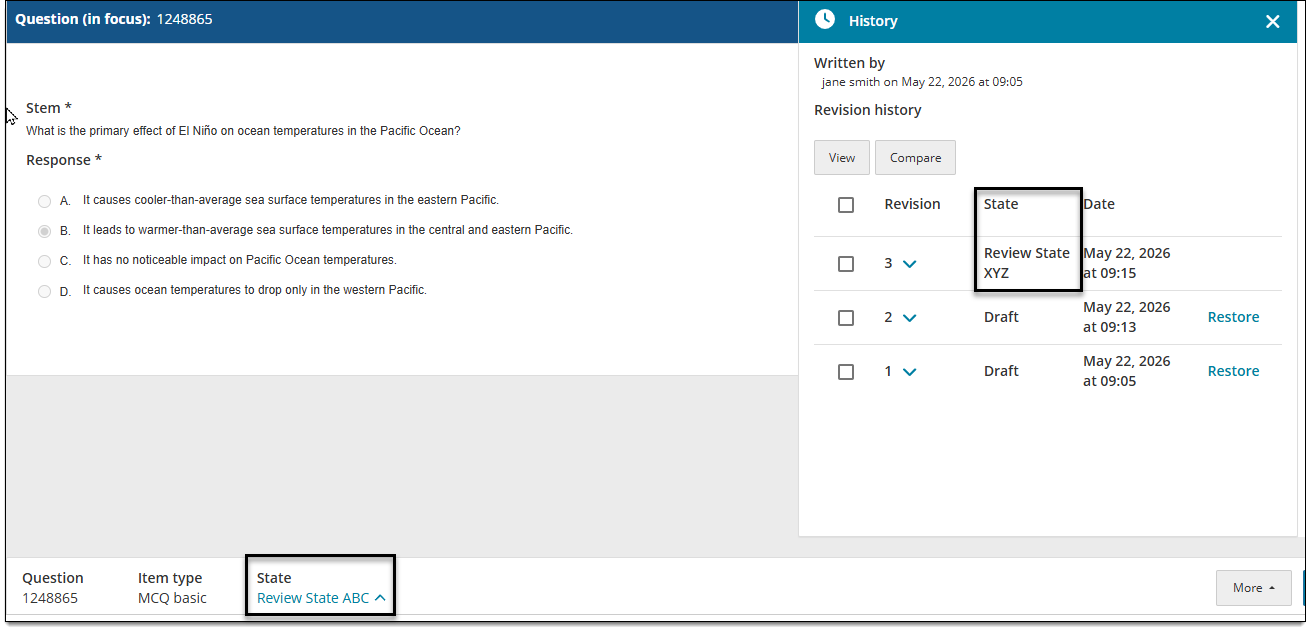
The item's state in the bottom toolbar may not match its state in the History panel. This could occur when you share an editable item that is currently in a review state from one project to another. In this case, the shared item will inherit the first review state of the project you shared it to, as shown in the bottom toolbar. In the item's history, the last saved revision will show the state at the time of that revision.
Save the item
Save the item to work on it later. This places the item in a Draft state.
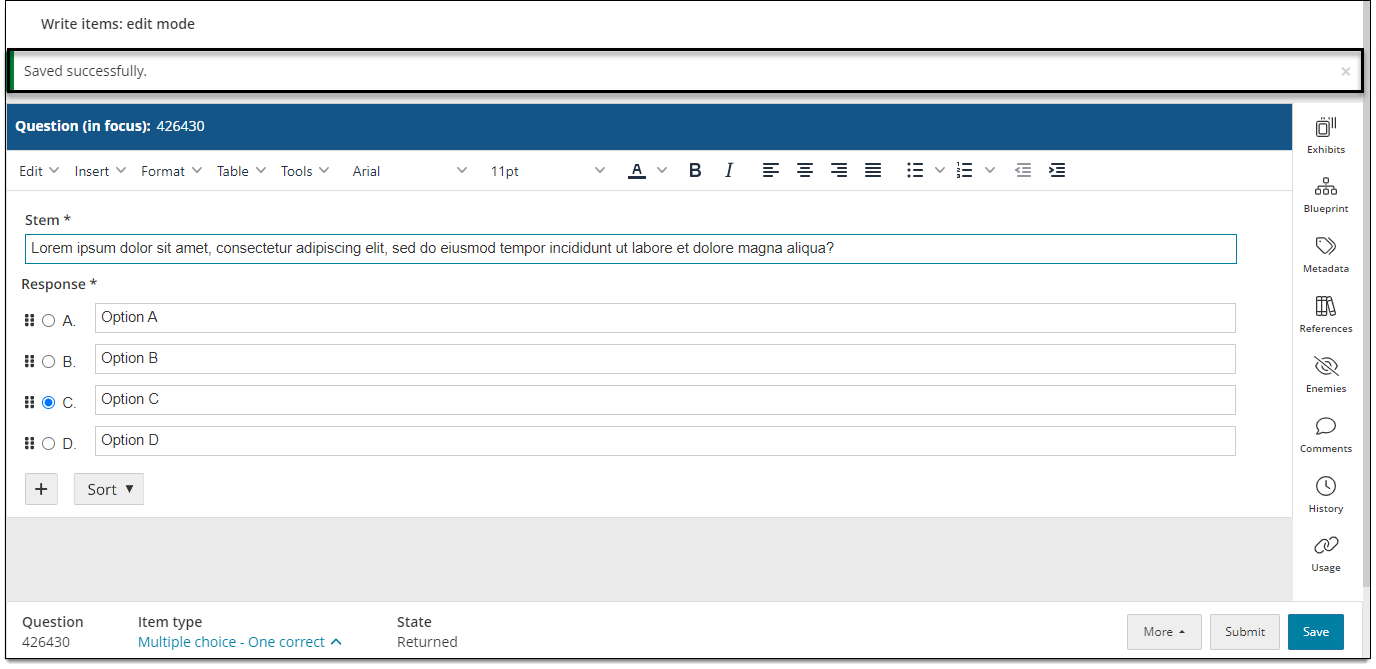
- Click Save in the lower-right corner of the page.
- A confirmation is displayed when the item is successfully saved.
Preview the item
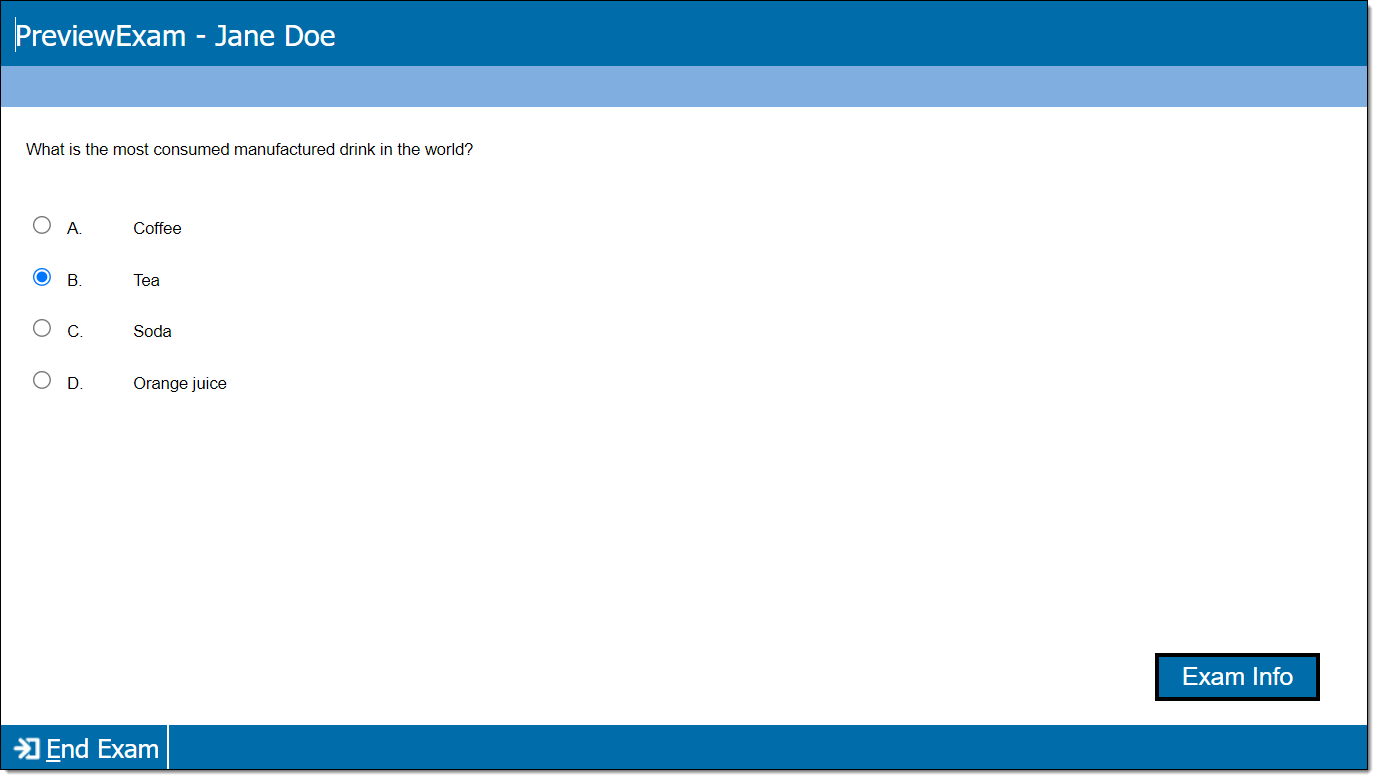
Preview the item using a sample browser-based test driver (Exam Preview). This shows how the item will appear to candidates during exam delivery.
|
|
- In the lower-right corner of the page, click Save . (You must save the item before previewing it.)
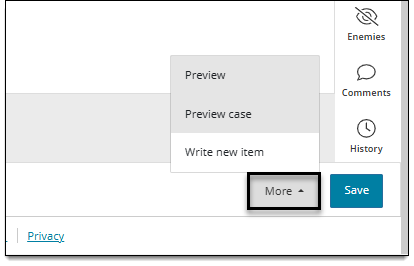
- Click More > Preview.
- The item preview will launch in a new tab or window in your browser.
Submit the item
Submitting an item sends it to the next assigned reviewer. You will no longer be able to edit this item unless the reviewer sends it back to you.
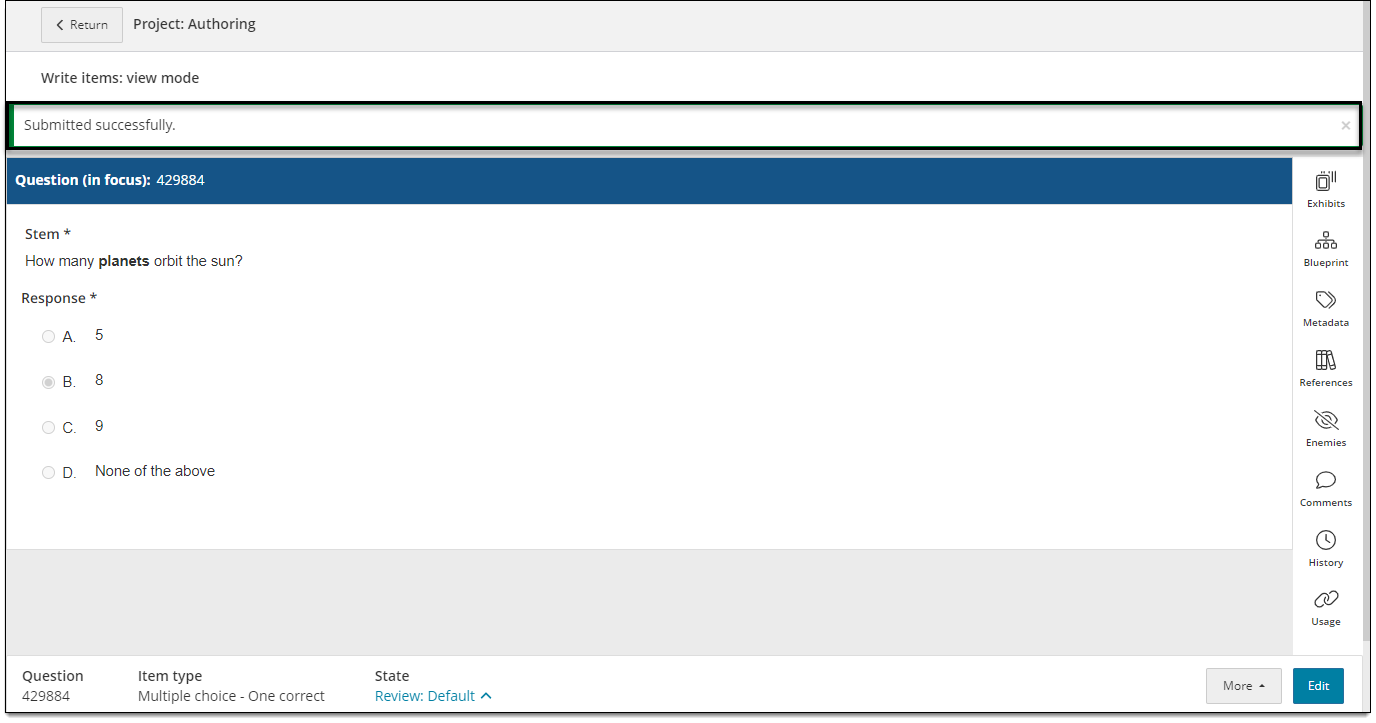
- Click Submit in the lower-right corner of the page.
- A confirmation is displayed when the item is successfully submitted.
Track submitted items
If the project manager allows it, you can track the status of submitted items on your dashboard by clicking the Submitted tab. Review states will vary by organization, but will typically be categorized as 'still in review' or 'completed' (approved and advanced to next review stage).
- Review states: the item is still being reviewed. Note this tab does NOT show items that were returned by the reviewer; returned items will appear in the Returned queue on your dashboard page.
- Completed states: the reviewer approved the item. This means you can no longer edit it.
Note: is shown next to any submitted items that were generated or refined using Item Assist.
Work on a different assignment
- Click the Return button in the top left corner. This takes you back to your Assignments page.