Audio capture with video (item type)
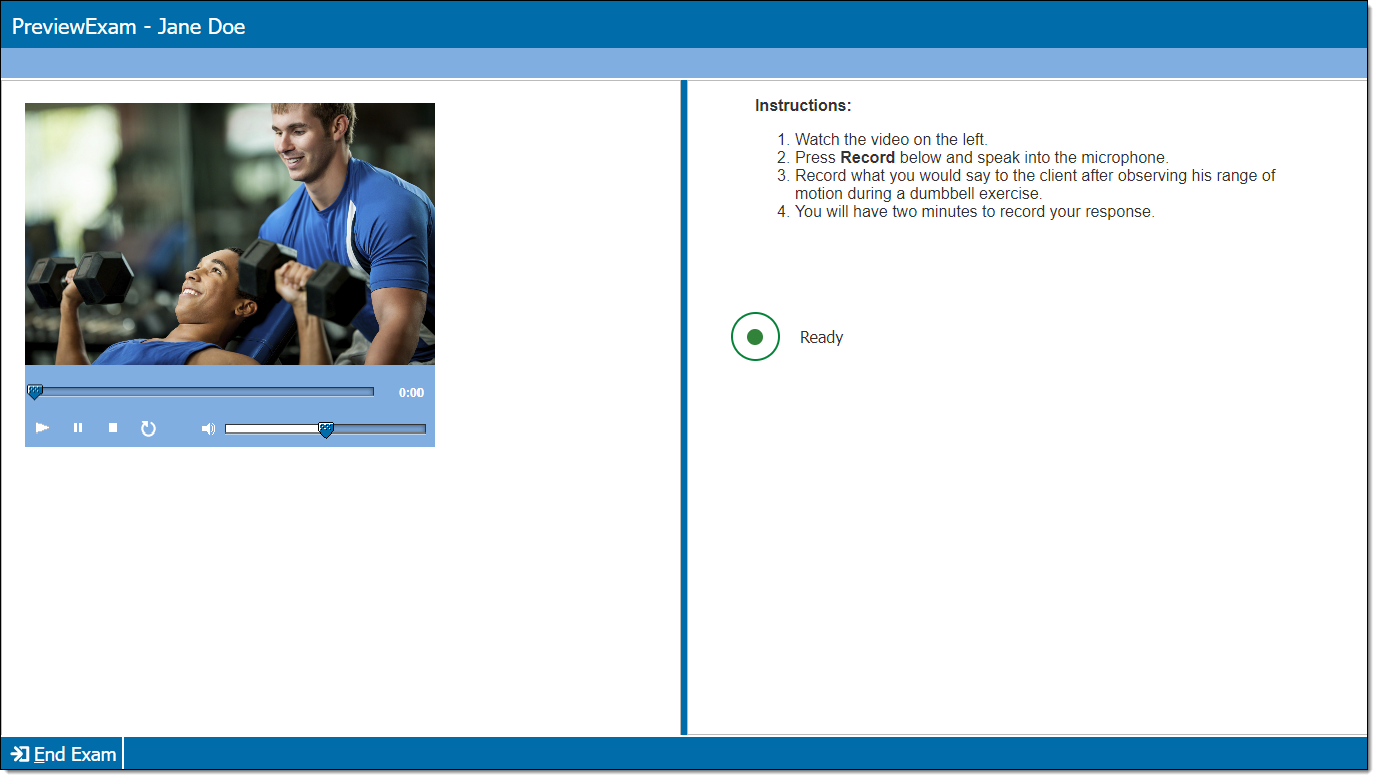
Audio capture with video item types display content with a video player and an audio recorder. The candidate is typically asked to watch the video clip and record a spoken response using the recorder. An audio player may be presented with the recorder if the candidate is also required to listen to an audio clip.
Add item content
|
|
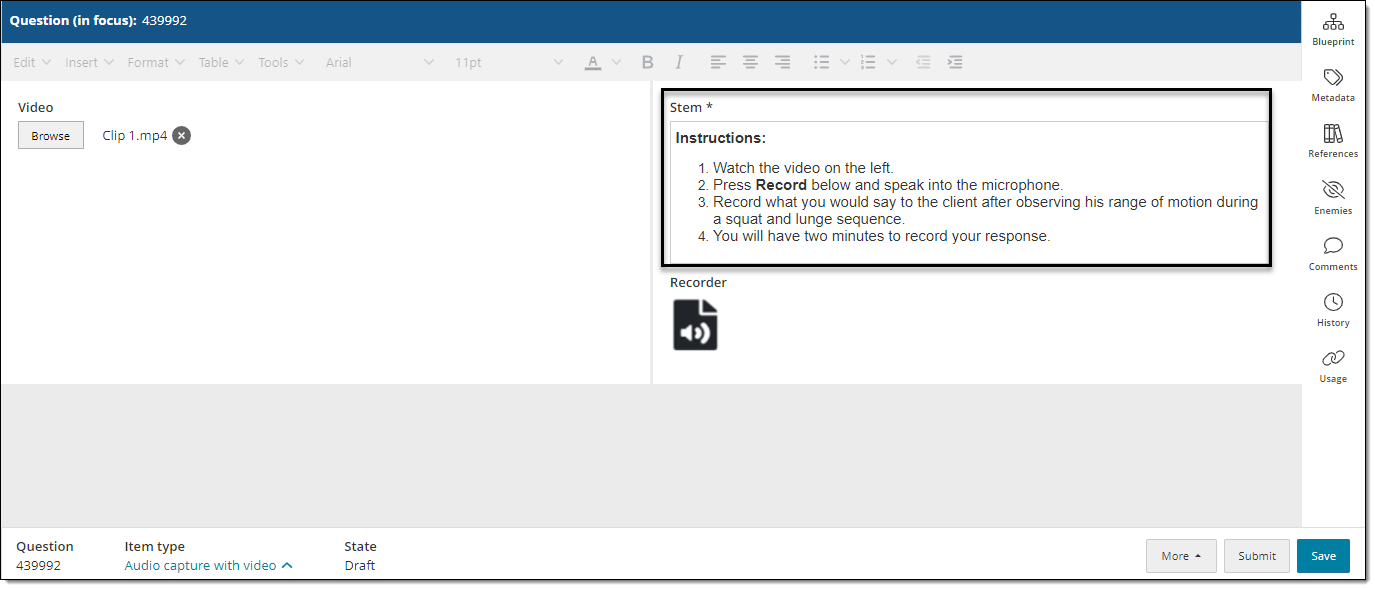
 Each content component (e.g., stem, question, passage) contains either text or media and may have a custom label. For example, a text component may be labeled as "Question" or "Stem", and a media component may be labeled as "Media", "Video", or "Audio".
- In the Content component* field(s), enter the question or instruction text (e.g., "Record your response to the following question").
- For text components, you can format text or add tables and images.
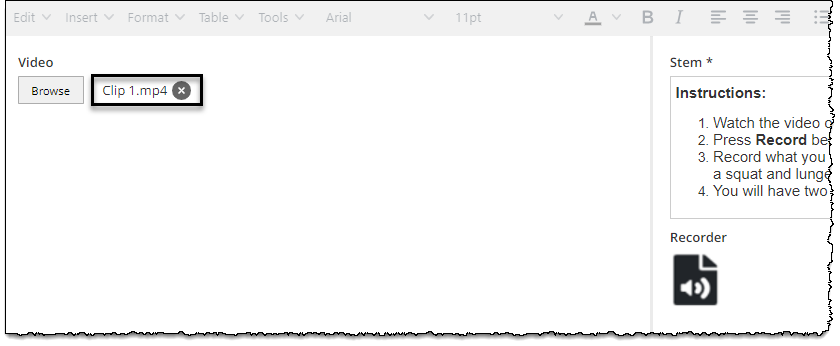
- An audio icon is displayed in the item editor to show where the recorder will be placed in relation to other item content. As an item author or reviewer, you cannot make changes to the recorder. In the example shown below, the recorder is displayed below the text content.
Add video
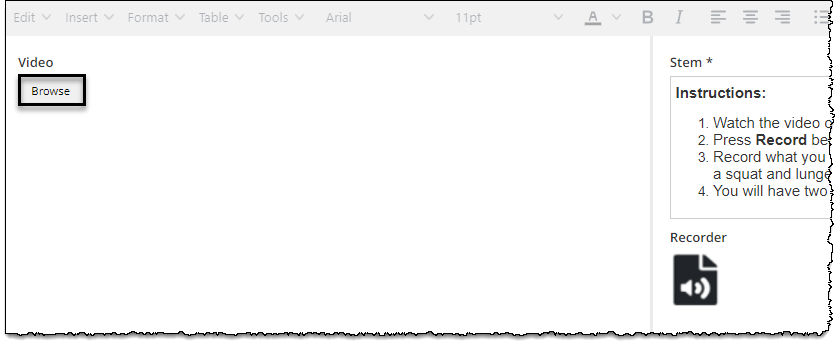
- Click the Browse button in the Media* section.
- *The name/label for this section may vary for each organization. The location of the video player in relation to the other item content also varies depending on the item configurations.
- *The name/label for this section may vary for each organization. The location of the video player in relation to the other item content also varies depending on the item configurations.
- In the Assets window, find the video file in the list or type the name of the file in the Search box.
- Click Insert for the video that you want to add. You can only add one video file.
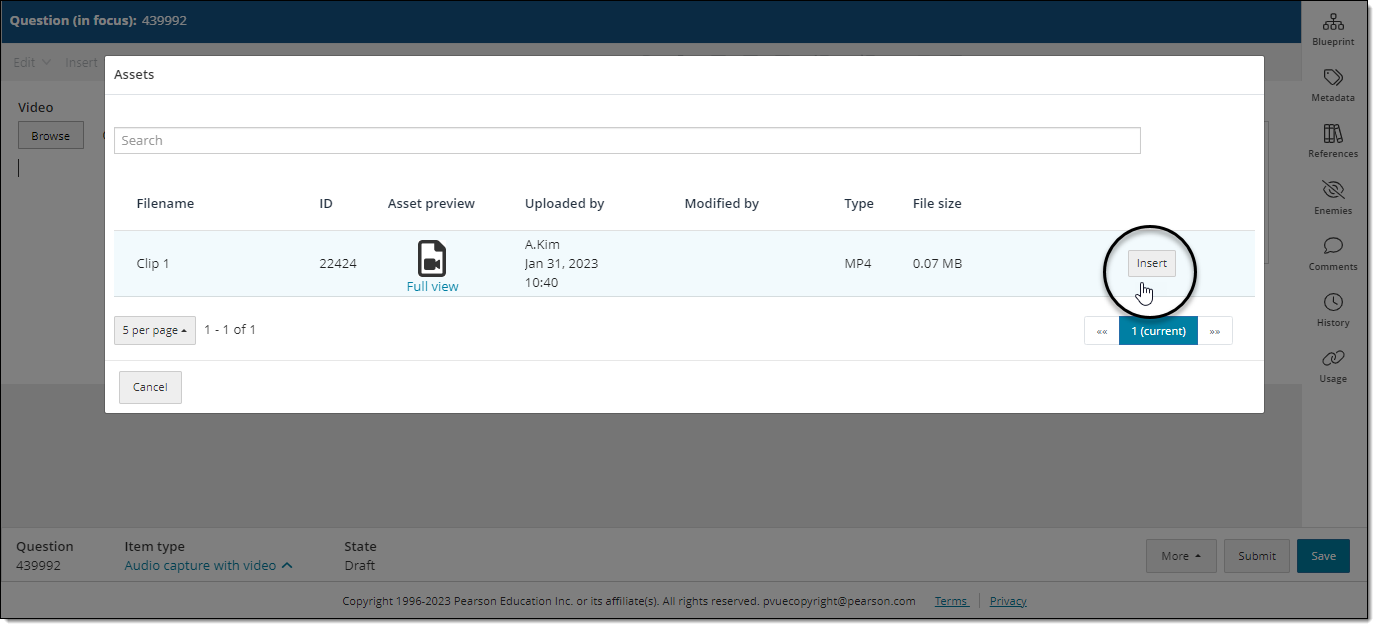
- The Assets window will close and the file name should be displayed next to the Browse button.
Add audio
Audio files can only be added if configured for the item type by the item bank manager.
- Click the Browse button in the Audio* section.
- *The name/label for this section may vary for each organization. The location of the video player in relation to the other item content also varies depending on the item configurations.
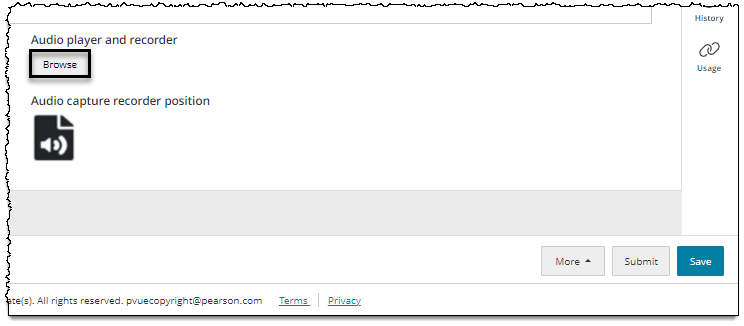
- *The name/label for this section may vary for each organization. The location of the video player in relation to the other item content also varies depending on the item configurations.
- In the Assets window, find the audio file in the list or type the name of the file in the Search box.
- Click Insert for the audio file that you want to add. You can only add one audio file at a time.
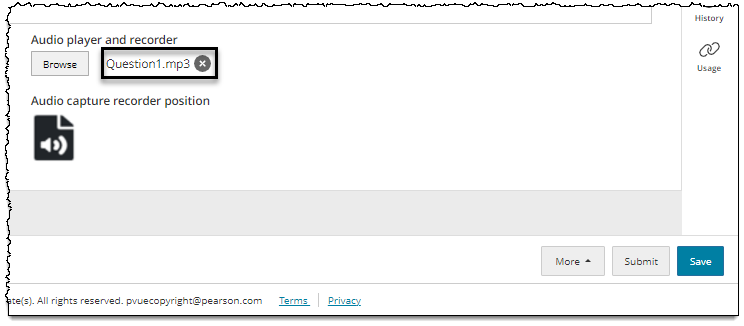
- The Assets window will close and the file name should be displayed next to the Browse button.
Additional options
See Author an item for a complete guide to item editing, including how to format text, add tables, insert images and media, apply metadata, select a blueprint area, etc.