External (item type)
External item types require copying and pasting or uploading a QTI snippet into the item editor. This template is often used for authoring certain item types that are not fully supported, complex items, or items that were previously created in other systems. The item will render upon exam delivery as long as the QTI snippet is complete, has well-formed XML, and is not missing any asset attachments.
|
|
Add QTI item snippet
|
|
- Add the QTI item snippet using one of the following methods:
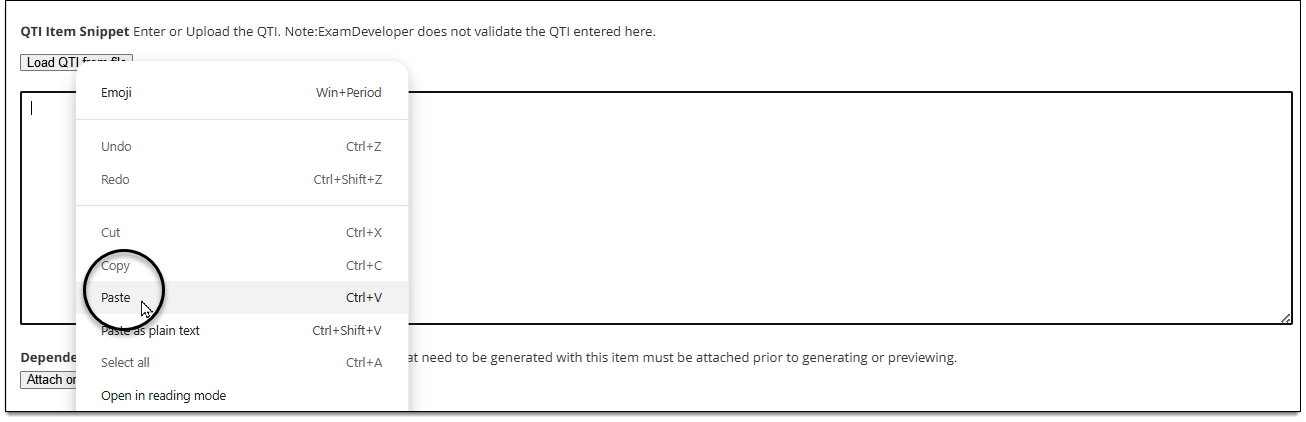
- Copy the item QTI code from a file (such as the itempool.xml) and paste it into the QTI Item Snippet box.
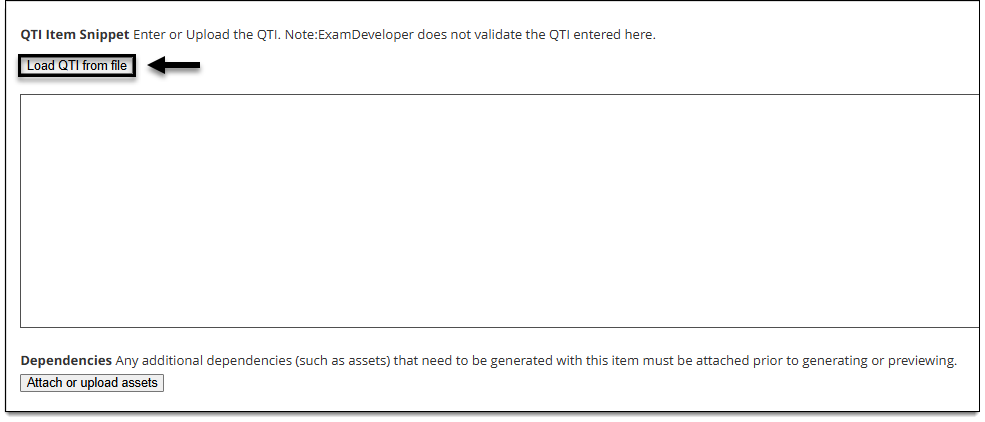
- Click Load QTI from file, select the desired file, and click Open.
 The file type must be XML.
- Copy the item QTI code from a file (such as the itempool.xml) and paste it into the QTI Item Snippet box.
- The QTI code is displayed in the QTI Item Snippet box.
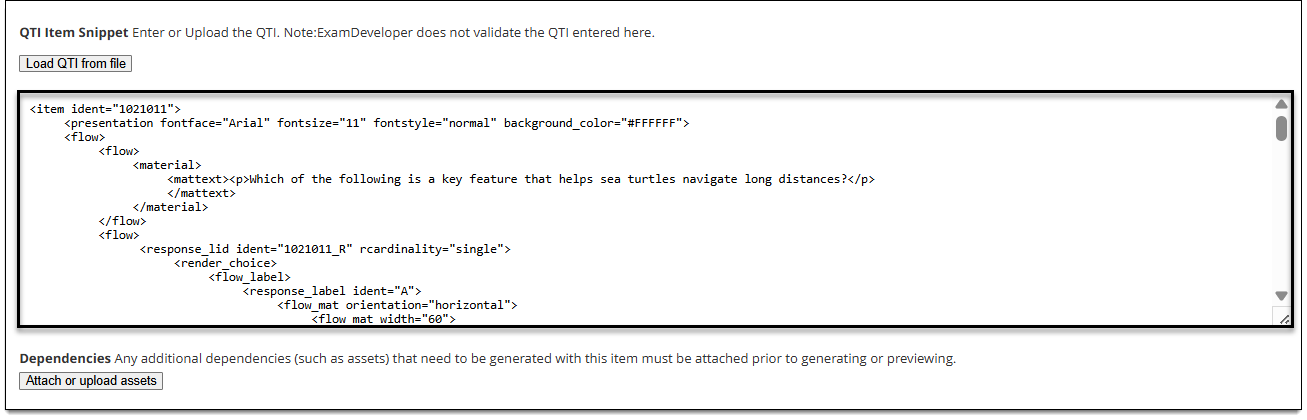
- Check for asset references in the QTI snippet (such as images and media). If an asset is referenced in the QTI code, you must attach that asset to the item as described below ↓.
- If required, add exhibit references ↓ or mark the item as a display/unscored item ↓ .
- Click Save.
- An error will be shown if the QTI is not well-formed (for example, an ident or closing tag is missing somewhere). Follow the instructions provided in the error message to correct any errors and click Save.
- The item will be assigned an ExamDeveloper ID (shown as "Question ID" in the bottom-left corner of the page).
- It is recommended to match the item ident in the QTI snippet to the item's ExamDeveloper ID. To do this, copy the Question ID in the lower-left corner of the page and replace all instances of the ident in the QTI snippet.
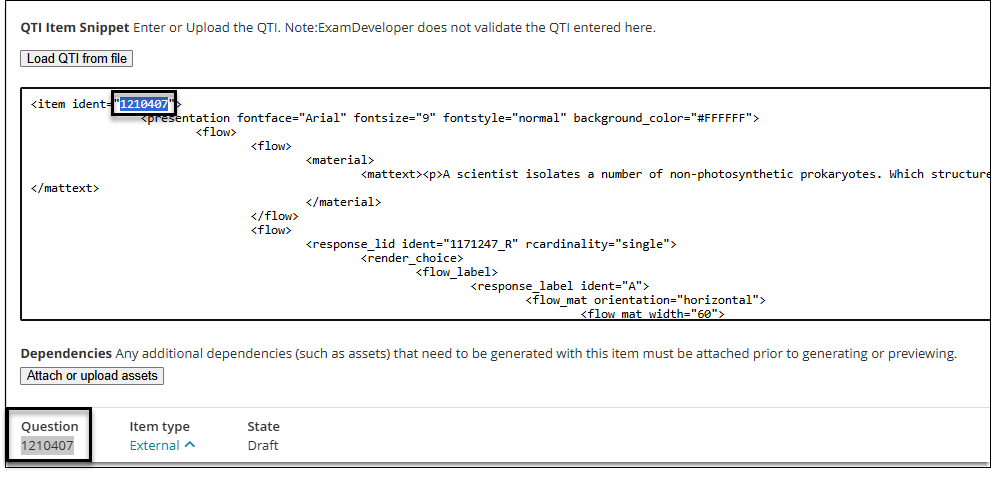
- After you submit the item, the item ident in the QTI snippet will be used as the ident of the item when the exam is exported.
- When building a form, you can select True for the Use external ID for idents drop-down setting in the Section node. Selecting True will use the items' external IDs (which are either imported or added in comments flagged as External ID) instead of the ExamDeveloper IDs for all items on the selected Section node in the Itempool.xml.
Attach referenced assets
|
If you attach an asset that is not referenced in the snippet, that asset will not be visible on the item during exam delivery. |
 You must attach any and all assets referenced in the QTI item snippet. When assets referenced in the snippet are not attached, this results in a compilation error in the assessment driver.
- Check the snippet for asset file references such as PNG, JPEG, etc. as shown in the example below:
<flow>
<material>
<mattext><p>This is a PNG asset</p> <p><img src='Image1.png' /> </p>
</mattext>
</material>
</flow> - To attach the associated asset, click Attach or upload assets below the QTI item snippet box.
- Find the asset with the same file name referenced in the QTI snippet and click Insert.
- If you don't see the asset, this means it has not been uploaded to the current project. Click Upload asset to add it. When an asset is uploaded to this item, it will also be available in the asset library for other items.
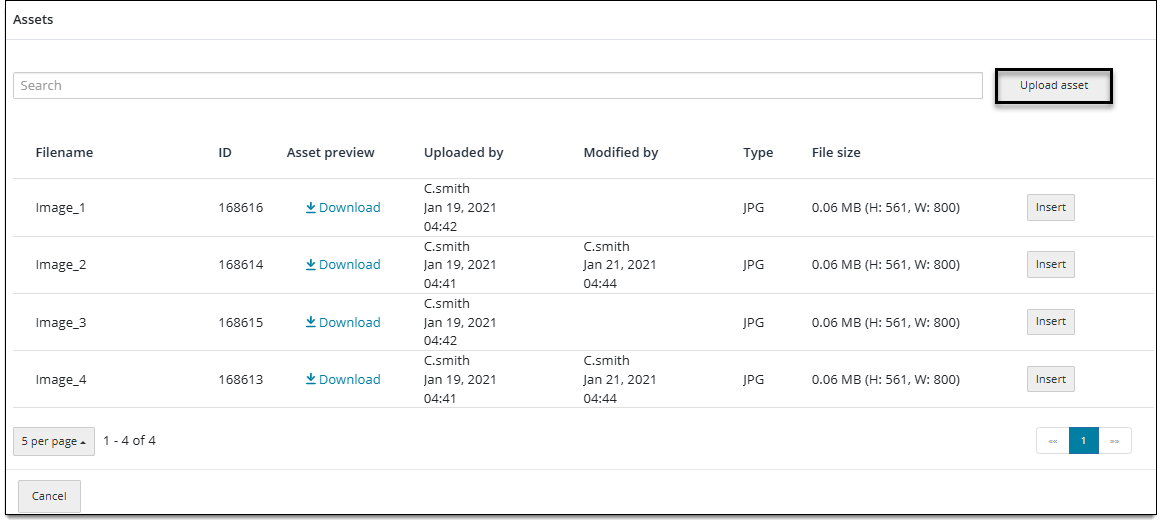
- Unsupported asset types will not be visible or available for upload. The supported asset types include: GIF, JPG, JPEG, PNG, SVG, PDF, PPTX, PPT, XLSX, XLS, MP3, and MP4.
- TIF, WAV, and MPEG assets are not supported.
- If you don't see the asset, this means it has not been uploaded to the current project. Click Upload asset to add it.
- The asset's file name is displayed below the QTI item snippet.
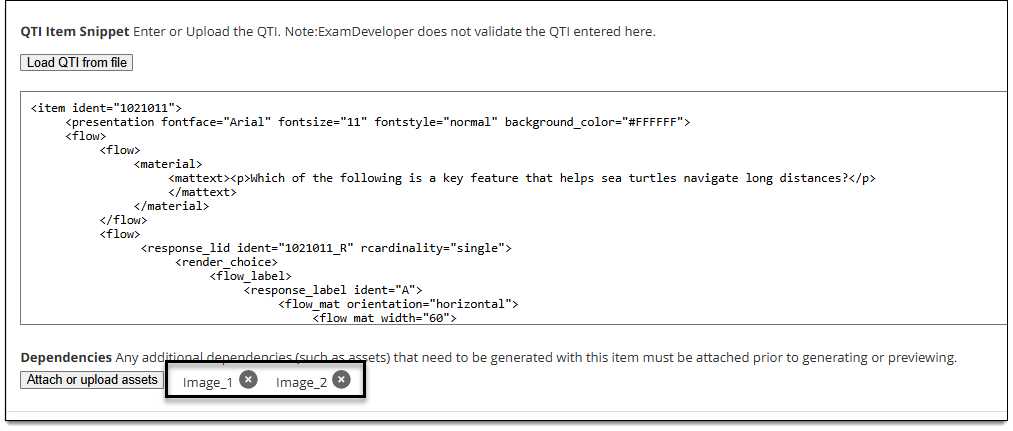
- To remove an attached asset, click the red Delete button next to the file name.
Add references to exhibits
If the item uses an exhibit, you can include a reference to that exhibit by adding additional code to the QTI item snippet. This code indicates that another item is being used as an exhibit within the itempool. For example, in the code snippet below, the ident 1234567 is an exhibit to be displayed with the External item "1021011".
<item ident="1021011">
<pearsonvue:referencematerial>
<pearsonvue:splitpresentation orientation="left" ratio="0.5" allowadjustment="false" />
<pearsonvue:itemreference ident="1234567" require_complete_exhibits_display="false" />
</pearsonvue:referencematerial>
<presentation fontface="Arial" fontsize="9" fontstyle="normal" background_color="#FFFFFF">
Mark the item as an unscored Display item
To mark the item as a Display item that is not scored, you must add the following elements after the </presentation> element and before the </item> element:
<itemproc_extension><pearsonvue:itemcontrol scored="false"/></itemproc_extension>
Preview the item
External items can be previewed as long as the XML in the QTI snippet is well-formed and all referenced assets are attached.
- To preview an item, click More > Preview in the lower-right corner of the page.