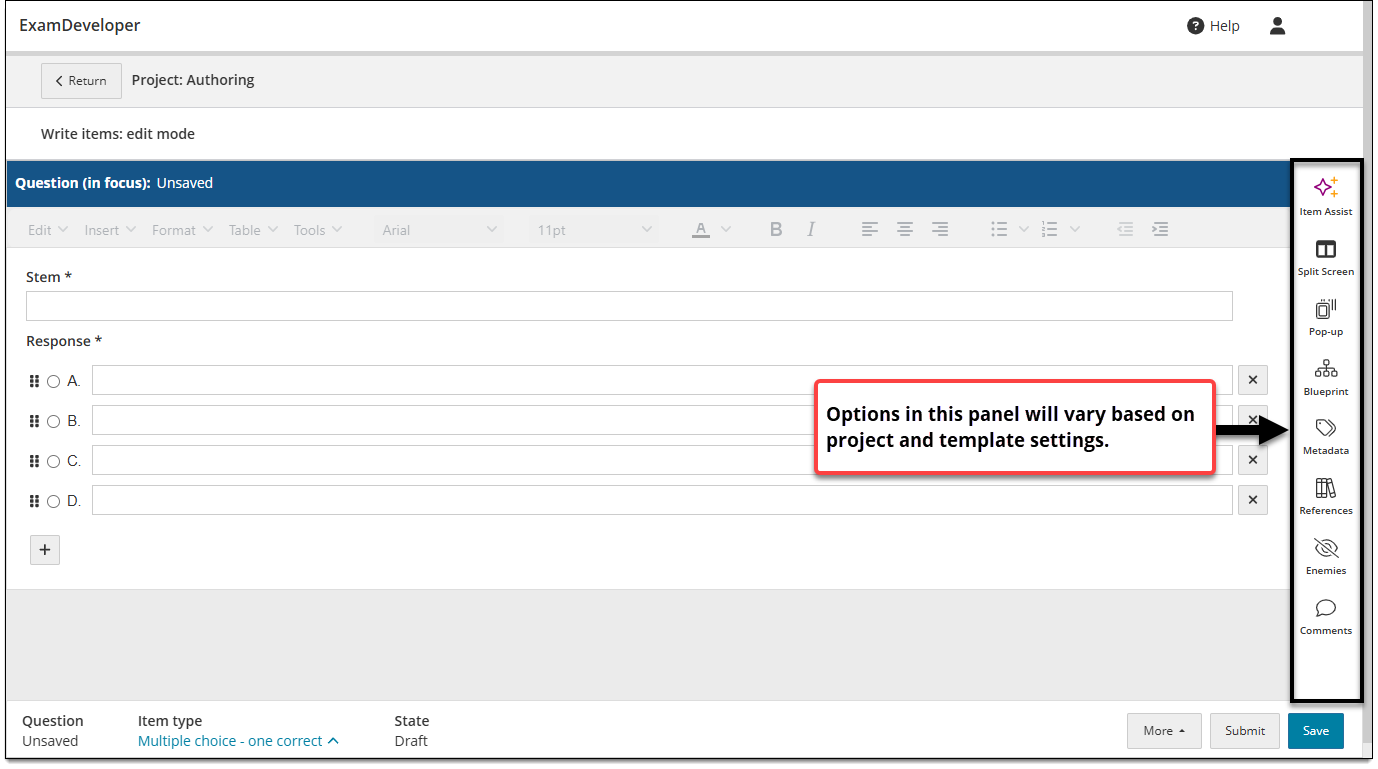
Choose delivery settings
The Delivery settings panel allows you to configure item and response attributes that are used or displayed during exam delivery, such as shuffled responses, response confirmations, and calculators.
|
|
Choose delivery settings
|
|
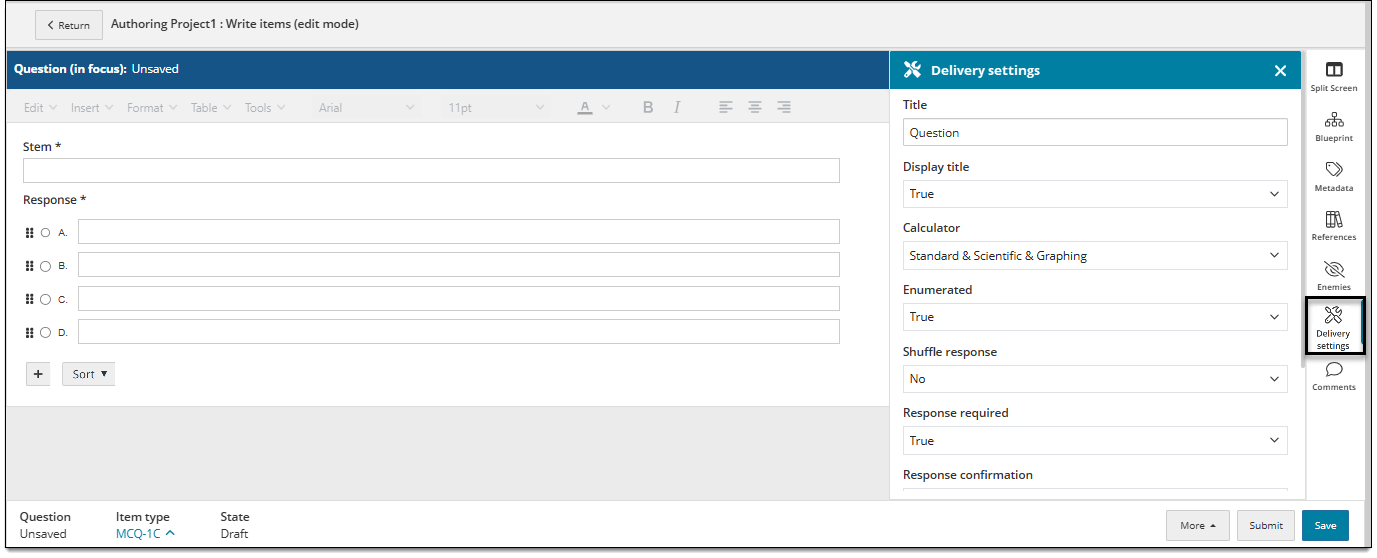
- In the item settings panel
 , click Delivery settings. (If you don't see this panel, it is likely not enabled for the item type.)
- Select or edit properties as needed (if the field is editable).
- Title: Enter an item title, which displays on the item review screen during exam delivery (only if idents are hidden and Display title (see below) is set to True). (A default title may be already applied; if you change the title it will only affect the current item.)
- Display title: Determines if the item's Title (see above) is displayed on the item review screen during exam delivery. Select True to display the title during exam delivery. Select False to hide the title during exam delivery; it will only be visible in ExamDeveloper. If you select Not set, no QTI values for this setting will be exported.
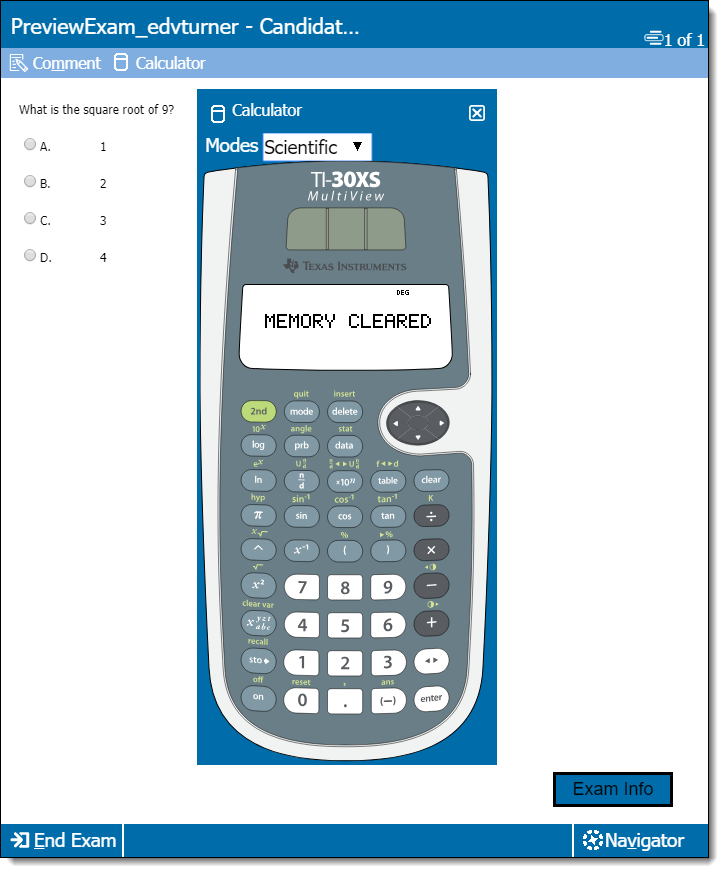
- Calculator: Determines which, if any, calculator types are available with this item during exam delivery. Choose a single type or combination of types including Standard, Scientific, and/or Graphing (see example image below). Availability of calculator types depends on the item type template settings. If you don't want to change the calculator type, choose Not set (the parent section settings will be used if present; if parent values are not present, no QTI settings for the calculator will be exported).
-
 If you add a calculator to an item, you must add the calculator to the Exam Level or you will receive a QTI Compilation error. See the PearsonvueApplication (Calculator) topic for details on adding calculators to the exam level."
-
- Enumerated: Determines if the item is excluded from the numbering sequence in the review screen. Select True to exclude it, or select False to include it. If you select Not set, no QTI values for this setting will be exported. About enumerationAbout enumeration
By default, all items are numbered in the review screen. When you exclude an item from numbering, the next item in the list uses the subsequent numbering. For example, if the first item is excluded from the numbering; the second item is assigned the value of 1. If the fifth item is also excluded from the numbering, the sixth item is assigned the number 4.
- Shuffle response: Determines if the shuffle response feature is enabled for this item. Select Yes to enable shuffled responses (response options will be displayed in a random order) or select No to disable shuffled responses (response options will always be displayed to candidates in the same order - which is the order specify when authoring the item). If you select Not set, no QTI values for this setting will be exported.
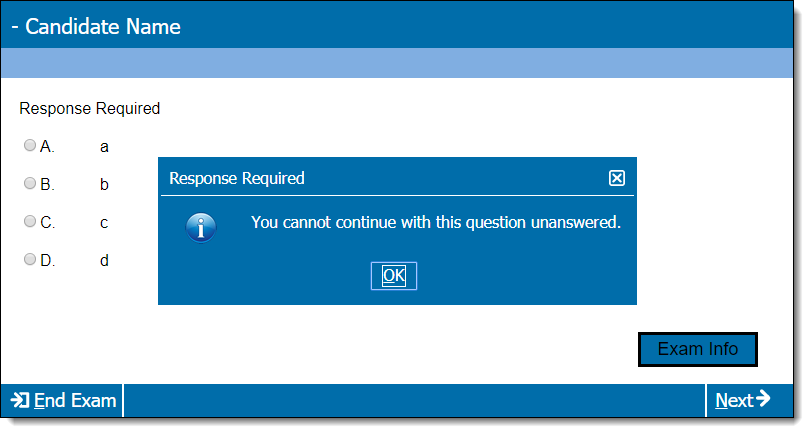
- Response required: Determines if the candidate must enter a complete response for the item before navigating away from it. Select True to require a response (a message is displayed if the response is incomplete or unanswered, and the candidate is unable to proceed) or select False to allow candidates to proceed without answering the item completely. If you select Not set, no QTI values for this setting will be exported.
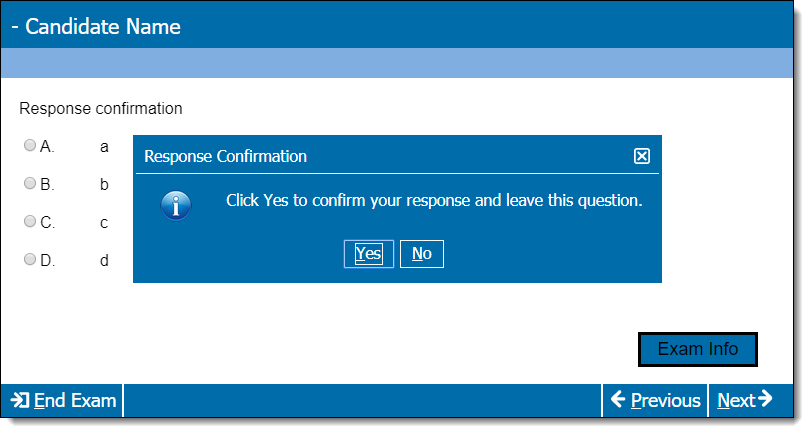
- Response confirmation: Determines if candidates will be prompted to confirm their answer to an item before navigating away from it. This is often used for exams that don't allow candidates to go back to an item once it has been answered. Select True to enforce the confirmation prompt or select False to disable the prompt and allow candidates to proceed without confirming. If you select Not set, no QTI values for this setting will be exported.
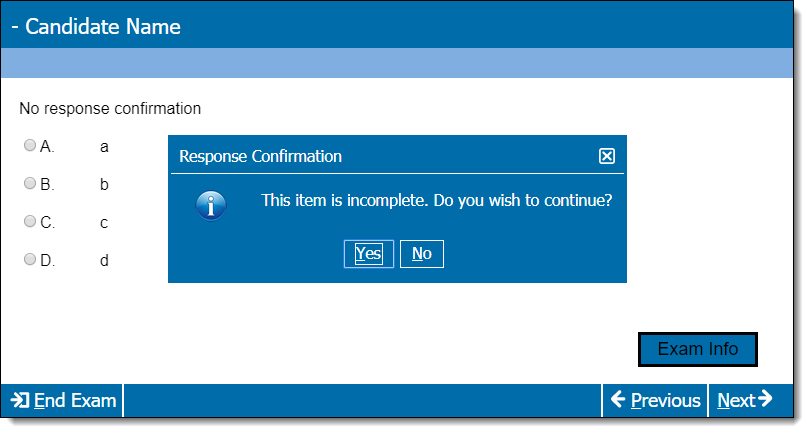
- No response confirmation: Determines if candidates will be prompted to confirm their answer to an item before navigating away from it, only if the response is missing or incomplete. Select True to show the confirmation prompt or select False to disable the prompt and allow candidates to proceed without confirming. If you select Not set, no QTI values for this setting will be exported.
- Click Save in the lower-right corner of the page. This saves all changes made to the item.